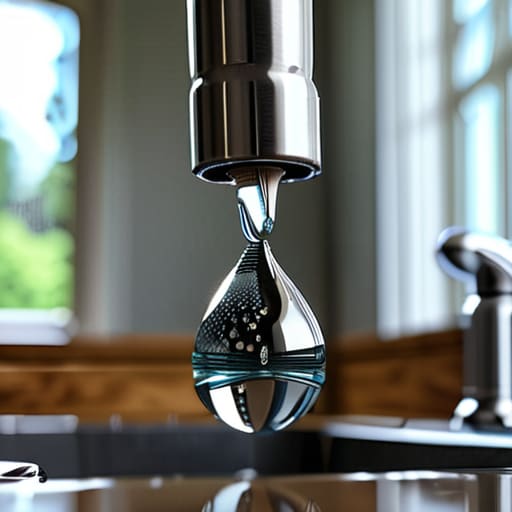
I was standing in my kitchen at 2:00 AM, staring at the rhythmic drip… drip… drip… of my sink, feeling like I was watching my hard-earned money literally wash down the drain. Most people will tell you that calling a plumber is the only way to avoid a catastrophe, but let me tell you the truth: that’s just a way to drain your savings account unnecessarily. Learning how to fix a leaky faucet isn’t some daunting feat reserved for master technicians; it’s actually much more like perfecting a delicate reduction sauce. It requires the right tools, a bit of patience, and the realization that a small, steady leak is just a minor budget leak waiting to be plugged before it turns into a financial flood.
In this guide, I’m stripping away the jargon and the high-priced contractor estimates to give you a clear, no-nonsense roadmap. I’ll walk you through the exact steps to identify the culprit—whether it’s a worn-out washer or a faulty O-ring—so you can handle the repair with the precision of a chef. We’re going to tackle this head-on, ensuring you save your plumbing, your sanity, and most importantly, your bottom line.
Table of Contents
- Step-by-Step Instructions
- Sourcing Your Essential Plumbing Tools for Faucet Repair
- Diagnosing Common Causes of Leaky Faucets Like a Pro
- Pro-Tips for a Leak-Free Kitchen: Managing Your Repairs Like a High-End Menu
- The Recipe for Success: My Top 3 Lessons for a Leak-Free Life
- The Cost of a Drip
- The Final Garnish: Closing the Loop on Your Leak
- Frequently Asked Questions
Guide Overview
Tools & Supplies
- Adjustable wrench for loosening nuts
- Screwdriver (Phillips or flathead) for removing handles
- Allen wrench for small set screws
- Replacement washers or O-rings (1-2 pieces)
- Plumber's grease (1 small tube)
Step-by-Step Instructions
- 1. First things first, we need to shut off the water supply. Think of this like clearing your workspace before you start a complex reduction; you don’t want any unexpected splashes ruining your flow. Look under the sink for the shut-off valves and turn them clockwise until they’re tight. If you can’t find them, you’ll have to turn off the main water valve for the whole house, but let’s hope it doesn’t come to that.
- 2. Once the water is off, go ahead and open the faucet to drain any residual liquid left in the lines. This is just like letting a pan cool down before you start cleaning it—it makes everything much more manageable. While you’re at it, plug the drain with a stopper or a rag. Trust me, the last thing you want is a tiny, expensive screw deciding to go for a swim down the drain like a lost investment.
- 3. Now, it’s time to get under the hood. Use a screwdriver or an Allen wrench to remove the decorative cap or the handle screw. You’re essentially deconstructing the recipe here to find the ingredient that’s gone bad. Once the handle is off, you’ll likely see the stem or the cartridge. This is the “meat” of the operation, and you’ll need to use a wrench to unscrew the packing nut carefully so you don’t strip the threads.
- 4. Inspect the internal components, specifically the O-rings and the washers. Over time, these little parts wear down just like a budget that hasn’t been adjusted for inflation. If the rubber looks cracked, flattened, or even slightly frayed, that’s your culprit. Grab a replacement that matches the exact size and model of your faucet; in the world of plumbing (and finance), the details are absolutely everything.
- 5. After you’ve swapped out the old, worn-out parts for the shiny new ones, it’s time to reassemble the unit. Put the cartridge or stem back in, tighten the packing nut, and replace the handle. Be careful not to over-tighten things—you want a firm connection, but you don’t want to crack the housing. It’s all about finding that perfect balance, much like seasoning a delicate soup.
- 6. Finally, let’s test our work. Turn the water supply back on slowly to avoid a sudden surge of pressure that could cause a blowout. Turn the faucet on and off a few times to ensure the flow is steady and, most importantly, that the drip has vanished. If you did everything right, you’ve just saved yourself a hefty plumber’s bill and earned some serious DIY street cred.
Sourcing Your Essential Plumbing Tools for Faucet Repair
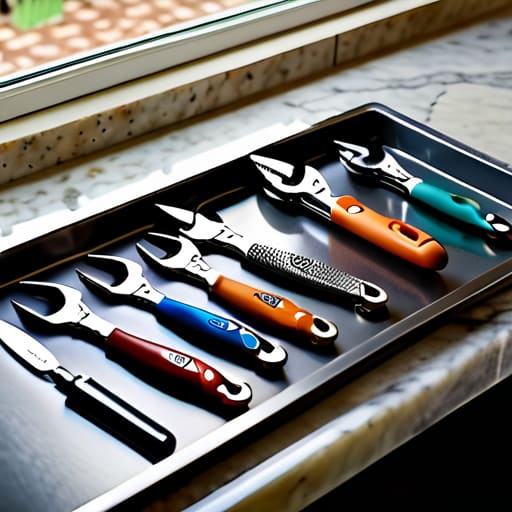
Before you dive into the heavy lifting, you need to gather your mise en place. Just like I wouldn’t dream of starting a complex reduction without my chef’s knife and prep bowls ready, you shouldn’t tackle a repair without the right plumbing tools for faucet repair laid out on the counter. You’ll want a reliable adjustable wrench, a screwdriver set, and perhaps some needle-nose pliers. Think of these tools as your essential kitchen kit; having the wrong size wrench is like trying to mince garlic with a butter knife—it’s frustrating, messy, and ultimately won’t get the job done.
While you’re at the hardware store, keep an eye out for specific components like a new O-ring or a specialized kit for a faucet washer replacement. If you’ve realized your setup is a bit more modern, you might actually be looking at a cartridge faucet repair guide scenario instead of a simple washer fix. Investing a few extra dollars upfront in high-quality parts is exactly like buying premium spices; it prevents the “bitter taste” of having to do the entire job all over again next week.
Diagnosing Common Causes of Leaky Faucets Like a Pro
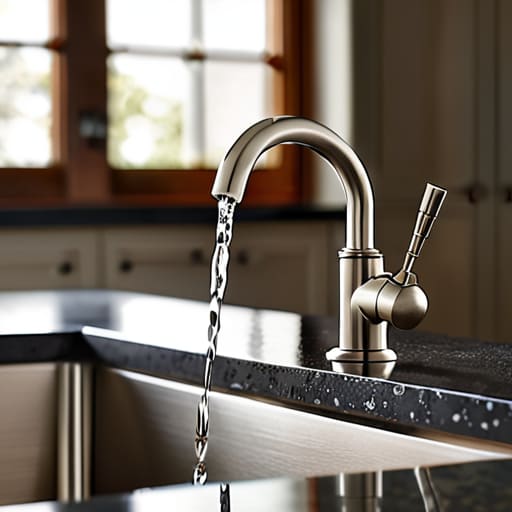
Before we dive into the actual repair, we need to perform a little “kitchen audit” to figure out exactly what’s going wrong. Think of this like tasting a soup to see if it needs more salt or a splash of acid; you can’t fix the flavor if you don’t know the source of the imbalance. Most of the time, common causes of leaky faucets boil down to a few specific, worn-out components. Is it a constant drip from the spout, or is water pooling around the base of the handle? Identifying the “flavor profile” of your leak tells us whether we’re looking at a simple faucet washer replacement or something a bit more complex, like a faulty valve.
If you’re dealing with a single-handle setup, you’re likely looking at a cartridge faucet repair guide scenario. These modern fixtures rely on internal cartridges to regulate flow, and once they get grit or mineral buildup, they lose their precision—much like a poorly calibrated oven thermometer. If it’s an older, double-handle model, the culprit is usually a degraded rubber washer. Pinpointing the exact issue now prevents you from wasting “capital” on parts you don’t actually need.
Pro-Tips for a Leak-Free Kitchen: Managing Your Repairs Like a High-End Menu
- Don’t skimp on the ingredients—or the parts. Just like you wouldn’t use cheap, watered-down stock for a reduction, don’t settle for low-grade washers or O-rings. Investing a few extra dollars in high-quality replacement parts now prevents a “financial leak” in your budget later.
- Mise en place is everything. Before you even touch a wrench, lay out every tool and part on a towel. In the kitchen, if you’re searching for a whisk mid-sauce, you’ve already lost; in plumbing, if you’re hunting for a screwdriver while water is spraying, you’ve got a real mess on your hands.
- Document your process to avoid “hidden costs.” Take photos of the faucet assembly before you take it apart. It’s the DIY version of keeping a recipe notebook—it ensures you can reconstruct the “dish” perfectly without having to pay a professional to fix your mistakes.
- Watch your torque like you watch your heat. Tightening a bolt too much is just like turning the flame up too high on a delicate custard—it’s easy to overdo it and crack the fixture. Aim for “just right” to ensure a seal without causing structural damage.
- Treat the cleanup as part of the ROI. Once the drip is gone, dry everything down and check for any lingering moisture. A clean workspace is a sign of a disciplined mind, whether you’re balancing a spreadsheet or finishing a repair, and it helps you spot new issues before they become expensive emergencies.
The Recipe for Success: My Top 3 Lessons for a Leak-Free Life
Treat your home maintenance like your budget—addressing small leaks early prevents a massive, expensive “financial” meltdown down the road.
Don’t skip the prep work; having the right tools and a solid diagnosis is the difference between a gourmet repair and a kitchen catastrophe.
Mastery comes with practice, so don’t be intimidated by the technical bits; once you nail the technique, you’ll save more than just water.
The Cost of a Drip
“Ignoring a leaky faucet is a lot like letting small, unnecessary expenses bleed your savings account dry—it might seem like a minor nuisance now, but if you don’t tighten things up quickly, those little drips will eventually cost you a fortune.”
Madeline Thompson
The Final Garnish: Closing the Loop on Your Leak
Now that you’ve successfully navigated the diagnosis and gathered your tools, you’re standing at the finish line. We’ve covered everything from identifying that pesky worn-out washer to sourcing the right wrenches, ensuring you didn’t approach this task without a solid mise en place. Just like in a busy kitchen or a high-stakes trading floor, the secret to a successful outcome lies in the preparation and the precision of your execution. By taking the time to tighten those components and replace the faulty parts, you haven’t just stopped a drip; you’ve effectively plugged a hole in your monthly budget that was quietly draining your hard-earned cash.
At the end of the day, fixing a leaky faucet is about much more than just plumbing; it’s about the empowerment that comes from taking ownership of your environment. Whether you are managing a gourmet food truck, navigating a complex career path, or simply maintaining your home, the principle remains the same: small, proactive adjustments prevent massive headaches down the road. Don’t let the little things—be they dripping taps or minor financial leaks—go unnoticed. Embrace the process, trust your skills, and remember that mastering the small details is exactly how you build a life of abundance and stability. You’ve got this!
Frequently Asked Questions
If I find out the washer is completely worn down, should I just replace the whole faucet assembly to save time, or is it worth the investment to just buy the individual parts?
Think of it like a recipe: sometimes you just need to swap out a wilted herb, and other times, the whole base is spoiled. If it’s just a worn washer, buy the part! It’s a low-cost “ingredient” that saves you from the massive expense of a new assembly. However, if the faucet body is corroded, that’s like a burnt pan—no amount of seasoning will fix it. Invest in the parts unless the foundation is toast.
I’m worried about making a mess—is there a trick to protecting my sink and vanity from tools and stray water while I'm working?
Think of this like setting up your station before a big dinner service—mise en place isn’t just for ingredients; it’s for your workspace, too! To keep your vanity from looking like a disaster zone, lay down some old towels or a silicone mat to catch stray drips. If you’re worried about heavy tools scratching the finish, a thick piece of cardboard works wonders. A clean workspace prevents “financial leakage” too—less time cleaning up means more time enjoying your success!
How can I tell if my leak is a simple fix I can handle myself, or if it's a "call the professional" situation that's going to blow my monthly budget?
Think of it like a recipe: if you’re just missing a pinch of salt, you can fix it yourself, but if the oven is malfunctioning, you need a specialist. If it’s just a worn-out washer or an O-ring, grab your tools and save that cash! But if you see water spraying from behind the wall or hear strange banging in the pipes, stop. That’s a “call the pro” moment to prevent a total financial meltdown.