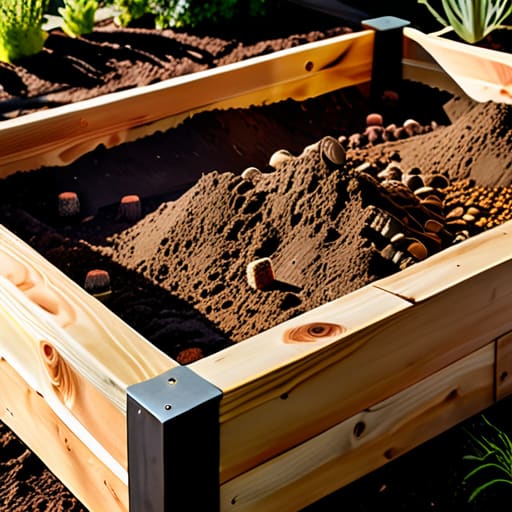
I was standing in my backyard last spring, staring at a pile of expensive, premium soil and a handful of wilted heirloom tomato seedlings, feeling like I’d just watched a high-stakes stock market crash. I had all the “ingredients” for a beautiful garden, but without the right structure, my investment was literally washing away into the mud. Most people think that learning how to build a raised garden bed requires a massive construction budget or a degree in civil engineering, but that is a total myth. In reality, building a garden bed is just like prepping a gourmet mise en place—it’s all about having your components organized and your foundation solid before you ever turn up the heat.
In this guide, I’m stripping away the fluff and giving you the exact blueprint I used to transition from a frustrated novice to a successful urban grower. We are going to walk through the process with the same precision I used when auditing spreadsheets on Wall Street, focusing on cost-effective materials, structural integrity, and soil optimization. You’ll learn exactly how to build a raised garden bed that won’t rot after one season, ensuring your culinary investments yield a massive return on flavor.
Table of Contents
- Step-by-Step Instructions
- Selecting Your Base Cedar vs Pressure Treated Lumber
- The Perfect Blend Mastering Your Raised Bed Soil Mix Ratio
- The Secret Sauce: 5 Pro-Tips for a High-Yield Garden Bed
- The Secret Sauce to a Successful Harvest
- Investing in Your Soil
- Digging In: Your Recipe for Success
- Frequently Asked Questions
Guide Overview
Tools & Supplies
- Drill/Driver for assembling wood
- Measuring tape for precise cuts
- Level to ensure flat placement
- Handsaw or Miter saw for sizing lumber
- Untreated cedar or redwood boards (4-6 pieces)
- Galvanized wood screws (1 box)
- Garden soil/Compost mix (approx. 10-15 bags)
- Hardware cloth or landscape fabric (1 roll)
Step-by-Step Instructions
- 1. First, we need to talk about your capital investment: the materials. Just like when I was analyzing spreadsheets on Wall Street, you can’t expect a high return if you start with low-quality assets. Head to your local hardware store and pick up untreated cedar or redwood; they are the blue-chip stocks of the gardening world because they resist rot naturally without needing nasty chemicals. You’ll also need heavy-duty galvanized screws, a level, and some hardware cloth if you’re expecting any uninvited “auditors” (aka moles or gophers) to dig into your accounts.
- 2. Once you have your ingredients, it’s time for the mise en place—organizing your workspace. Clear out the patch of grass or dirt where you want your bed to live. If you don’t level the ground first, your garden bed will be tilting like a poorly balanced budget, and all that precious water will just drain away from where it’s needed most. Use a shovel to flatten the area so your foundation is as solid as a well-structured retirement fund.
- 3. Now, let’s start the assembly, which is really just about building your framework. Lay out your boards to form a rectangle, making sure the corners are nice and square. I like to think of this as setting your fixed costs; once these boards are screwed together, they aren’t moving. Drive those galvanized screws through the sides of the boards into the corner posts to ensure everything is structurally sound and won’t buckle under the pressure of a heavy harvest.
- 4. Before we add the “flavor,” we need to protect our investment by installing a barrier. If you have critters in your neighborhood, lay down a sheet of hardware cloth (metal mesh) at the bottom of your frame. This acts like a risk management strategy, preventing pests from tunneling up and eating your profits before they even sprout. It’s a small upfront cost that prevents a massive loss down the line.
- 5. Now comes the most delicious part: the soil composition. You can’t just use cheap, filler dirt; that’s the culinary equivalent of using instant coffee when you should be using fresh espresso beans. I recommend a high-quality mix of compost, peat moss, and vermiculite. Think of this as your diversified portfolio—you want a rich blend of nutrients that provides stability and growth potential for every single seed you plant.
- 6. Finally, once your bed is filled and leveled, it’s time to allocate your resources. Don’t just throw seeds everywhere like you’re tossing salt over your shoulder; plant with intention. Group your herbs, veggies, and flowers based on their specific needs for sun and water. When you treat your garden with the same precision and discipline you’d apply to a professional kitchen or a financial audit, you’re going to see some incredible dividends come in.
Selecting Your Base Cedar vs Pressure Treated Lumber
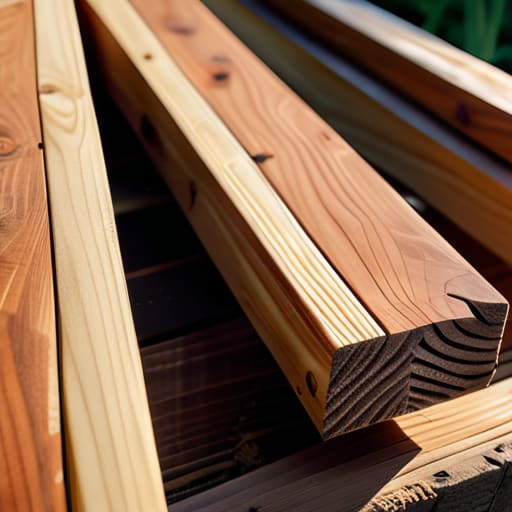
When you’re standing in the lumber aisle, it can feel a lot like staring at a complex menu without knowing the ingredients. You want quality, but you also have to watch your bottom line. When weighing cedar vs pressure treated lumber, I like to think of it as choosing between organic, locally sourced produce and a budget-friendly supermarket staple. Cedar is the “gourmet” option; it’s naturally rot-resistant and contains oils that keep pests at bay without any chemical interference. It’s a higher upfront investment, much like buying premium spices, but it lasts significantly longer in the elements.
On the other hand, pressure-treated wood is your cost-effective workhorse. While older treatments raised concerns about chemicals leaching into your veggies, most modern, ACQ-treated lumber is considered safe for building raised beds for vegetables. However, if you’re a purist who wants to ensure your heirloom tomatoes stay as clean as possible, cedar is the gold standard. Just remember, regardless of which “ingredient” you choose, the longevity of your garden depends on how well you manage your initial capital!
The Perfect Blend Mastering Your Raised Bed Soil Mix Ratio
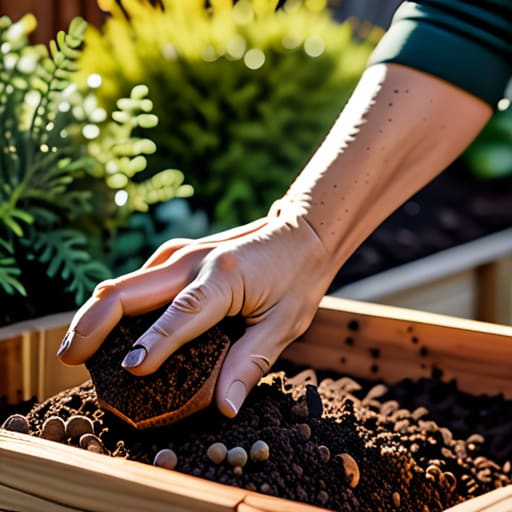
Think of your soil like the base of a complex reduction sauce; if the foundation is thin or lacks depth, the whole dish falls flat. Once you’ve decided on your materials—whether you went with the premium investment of cedar or a more budget-friendly option—it’s time to talk about the real “secret sauce”: your raised bed soil mix ratio. You don’t want to just scoop up dirt from your backyard and call it a day; that’s like trying to make a five-star risotto with instant rice. You need a blend that offers both structural integrity and nutrient density.
A foolproof formula I swear by is the “one-third rule”: one part high-quality compost, one part peat moss or coconut coir for moisture retention, and one part vermiculite or perlite for aeration. This ensures your garden bed drainage solutions are built right into the texture of the earth itself. Just as I used to balance high-risk and low-risk assets on Wall Street, you’re balancing drainage with nutrient availability. Getting this ratio right is the ultimate way to ensure your investment in building raised beds for vegetables actually pays off in a massive, delicious harvest.
The Secret Sauce: 5 Pro-Tips for a High-Yield Garden Bed
- Location is everything—just like choosing a prime spot for a food truck, you need sun and drainage. Don’t park your garden in a shady corner where the “investment” won’t have the energy to grow; aim for at least six to eight hours of direct sunlight to ensure your ROI (Return on Ingredients) is maximized.
- Don’t skimp on the hardware. Think of your screws like the seasoning in a delicate sauce; if they’re cheap or flimsy, the whole structure collapses under pressure. Use high-quality, exterior-grade screws to ensure your bed stays sturdy through every season, preventing any “budget leaks” in your garden’s structural integrity.
- Mind the height for better ergonomics. Building a bed that’s too low is like working a double shift on a kitchen floor without a mat—it’s going to wreck your back. Aim for a height that allows you to tend to your plants without constant bending, making your “maintenance labor” much more efficient.
- Implement a “buffer” layer at the bottom. Before you pour in that expensive soil mix we talked about, lay down some cardboard or newspaper at the base. It’s like a protective garnish that suppresses weeds and prevents them from stealing nutrients from your real stars—the vegetables.
- Plan for scalability and expansion. In finance, we call this diversification; in gardening, it’s about not putting all your seeds in one basket. Build your beds in a way that allows you to add more units next season as your passion (and your harvest) grows, rather than being stuck with a one-size-fits-all setup.
The Secret Sauce to a Successful Harvest
Think of your raised bed like a high-stakes investment portfolio; choosing the right materials—like durable cedar—is your long-term capital expenditure that prevents “drain” on your resources later.
Just as you wouldn’t skimp on high-quality ingredients for a signature dish, don’t compromise on your soil mix; it’s the foundational “flavor profile” that dictates whether your plants thrive or just survive.
Success in gardening, much like in finance, comes down to meticulous prep work; if you organize your base and your nutrients correctly from day one, you’re setting yourself up for a massive ROI at harvest time.
Investing in Your Soil
Building a raised garden bed is a lot like diversifying your investment portfolio; you can’t just throw everything into one basket and hope for the best. You need to carefully select your high-quality materials and layer your nutrients with precision, because just like a well-managed fund, a healthy garden is built on a foundation of smart, upfront decisions.
Madeline Thompson
Digging In: Your Recipe for Success
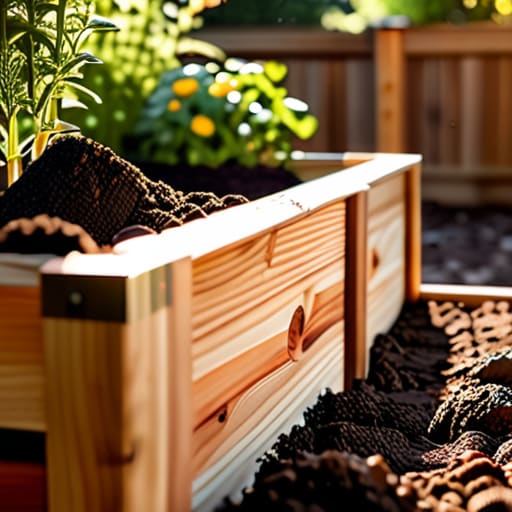
At the end of the day, building a raised garden bed is a lot like managing a high-stakes investment portfolio; it’s all about the quality of your initial assets. We’ve covered everything from choosing the right “capital”—whether that’s the long-term durability of cedar or the cost-effectiveness of pressure-treated wood—to perfecting your soil mix, which is essentially the nutritional foundation of your entire project. By selecting the right materials and ensuring your soil ratio is balanced, you aren’t just building a wooden box; you are setting up a high-yield environment where your culinary dreams can actually take root. When you treat your garden prep with the same meticulous precision I used back on Wall Street, you significantly reduce the risk of “market volatility” in the form of pests or poor drainage.
Now that the heavy lifting and the math are out of the way, it’s time for the most rewarding part: the harvest. Remember, even the most seasoned chefs and the most successful entrepreneurs started with a single, small project. Don’t get discouraged if your first season doesn’t look like a Michelin-star plating; gardening, much like personal finance, is a continuous learning process that requires patience and a little bit of trial and error. I promise you, there is no greater feeling of financial or personal ROI than biting into a tomato that you grew from scratch in a bed you built with your own two hands. So, grab your trowel, trust your prep work, and let’s get growing!
Frequently Asked Questions
How do I prevent my investment from literal "drainage issues"—should I line the bottom with cardboard or hardware cloth to keep the weeds and pests away?
Think of this as protecting your principal investment. If you want to prevent “drainage issues” and weed encroachment, I’m a huge fan of the cardboard method—it’s like a high-yield savings account for your soil; it decomposes naturally while smothering weeds. However, if you’re worried about burrowing pests, layer in some hardware cloth. It’s the ultimate hedge against unexpected losses, ensuring your garden’s foundation stays as solid as a well-diversified portfolio!
Is it worth paying the premium for a larger bed, or should I start small to manage my "startup costs" and avoid overwhelming my garden?
Think of this like launching a new menu item: don’t overextend your capital before you’ve tested the market. While a massive bed looks impressive on paper, the “overhead”—in time, soil, and physical labor—can quickly lead to burnout. I’d recommend starting with a manageable “pilot program” of smaller beds. It limits your initial investment and lets you master the technique before you scale up your gardening empire. Scale when you’re ready!
How often should I "restock the pantry" with fresh compost to keep my soil nutrients from going bankrupt?
Think of compost like your emergency fund: you don’t want to wait until you’re completely broke to start contributing. To keep your soil’s nutrient levels from hitting a deficit, I recommend a “top-off” every spring and a light layer every fall. It’s all about consistent, incremental deposits. By replenishing that organic matter regularly, you’re ensuring your garden has the capital it needs to yield a massive return on investment!
