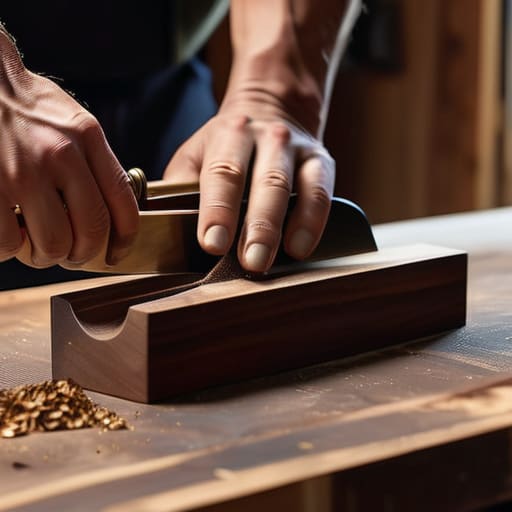
I was staring at my latest “budget-friendly” flat-pack shelf—the one that had started leaning precariously to the left like a tired sous-chef at the end of a double shift—and I realized I’d made a classic rookie mistake. Most people think that building something sturdy is all about buying the most expensive tools or following a complicated blueprint, but that’s a total myth. In reality, learning how to build a bookshelf that lasts is much more like managing a high-yield investment portfolio; it’s less about the flashy bells and whistles and more about the structural integrity of your foundational choices. If you skimp on the quality of your wood or ignore the precision of your joinery, you’re essentially pouring money into a recipe that’s destined to fail.
In this guide, I’m stripping away the sawdust and the jargon to give you a blueprint for success. I’ll walk you through selecting the right materials, mastering the essential techniques, and avoiding the costly errors that turn DIY projects into expensive lessons. We aren’t just making furniture here; we are creating a long-term asset for your home. By the end of this, you’ll have the confidence to build something that doesn’t just hold your books, but stands as a testament to smart, intentional craftsmanship.
Guide Overview
Tools & Supplies
- Circular saw or Table saw for accurate wood cuts
- Power drill for driving screws and pre-drilling
- Orbital sander for smooth surfaces
- Speed square to ensure 90-degree angles
- Clamps to hold pieces in place during assembly
- Hardwood boards (Oak or Walnut) 1×12, 4-5 boards
- Wood glue for strong structural bonds
- Wood screws (2.5 inch) for assembly
- Sandpaper (80, 120, and 220 grit)
- Wood finish or sealant to prevent warping
Step-by-Step Instructions
- 1. Before you even touch a saw, you need to source your materials, and trust me, this is where most people blow their budget. Think of this like buying organic produce for a signature dish; if you start with cheap, particle-board “filler,” your project is going to crumble under pressure. Invest in solid hardwood like oak or maple if you want this to be a legacy piece, or at the very least, a high-quality plywood. Skipping on the quality of your wood is like investing in a high-yield fund but forgetting to account for inflation—it might look good on paper today, but it won’t hold its value in the long run.
- 2. Once you have your lumber, it’s time for the precision work: measuring and cutting. In my old life on Wall Street, a single misplaced decimal point could ruin a quarterly report, and in woodworking, a fraction of an inch can ruin a shelf. Use a sharp saw and a steady hand to cut your sides, shelves, and backing according to your blueprint. I always say that measure twice, cut once is the golden rule, not just for wood, but for your financial decisions too. Taking that extra second to verify your numbers saves you the cost of replacing wasted material.
- 3. Now we move into the assembly phase, which is essentially the “reduction” stage of our recipe—it’s where everything starts to come together into something substantial. I recommend using a combination of wood glue and pocket-hole screws to ensure a rock-solid structure. Glue provides the long-term bond, while the screws act as the structural scaffolding that holds everything in place while the adhesive sets. Just like a well-diversified portfolio, you want multiple layers of support to ensure that when life gets heavy, your shelves don’t buckle.
- 4. After the frame is assembled, you need to attach a back panel. This might seem like an optional extra, but it’s actually the most critical step for preventing “racking,” which is when the shelf leans to one side. Think of the back panel as your emergency fund; you might not notice its impact during the good times, but it is the only thing standing between you and a total structural collapse when things get shaky. Use a thin sheet of high-quality plywood and nail it securely into every single shelf and side rail.
- 5. Once the structure is sound, it’s time for sanding, which is the tedious but necessary work of smoothing out the rough edges. Start with a coarse grit sandpaper to level out any bumps and gradually move to a finer grit until the surface feels as smooth as silk. If you rush this step, your final finish will look uneven and amateurish. It’s a lot like the due diligence phase of a business deal—it’s a bit of a grind, but it’s the only way to ensure the final result is polished and professional.
- 6. The final step is applying your finish, whether that’s a stain to show off the wood grain or a clear protective coat. This is your “plating” moment—the part that makes the whole project look exquisite. I prefer a high-quality polyurethane to protect the wood from scratches and spills, much like how a robust insurance policy protects your hard-earned assets from unexpected damage. Apply thin, even layers, and let each one dry completely before moving to the next to ensure a flawless, long-lasting glow.
Selecting the Best Wood for Heavy Books and Longevity
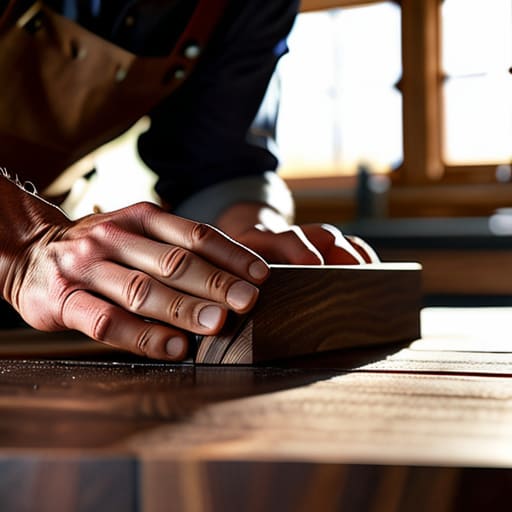
Think of your wood selection as the foundation of your financial portfolio; if you invest in cheap, volatile assets early on, the whole structure is going to crash when things get heavy. When you’re deciding between hardwood vs softwood for furniture, you’re essentially choosing between a high-yield long-term bond and a risky penny stock. For a library that needs to hold heavy encyclopedias or thick art books, I always recommend opting for hardwoods like oak, maple, or walnut. These species offer the density and strength required to maintain the structural integrity of shelving units over decades, rather than years.
If you’re on a tighter budget—think of it as a “lean startup” phase—you can certainly use softwoods like pine, but you’ll need to be much more strategic. To avoid the dreaded “smile” effect, you’ll need to increase the thickness of your boards or add center supports, which is key to preventing shelf sagging under pressure. Just like a well-managed budget, it’s all about mitigating risk before the weight of reality sets in. Once you’ve picked your timber, don’t skimp on the sealant; a high-quality finish is your insurance policy against wear and tear.
Perfecting Joinery Techniques for Bookshelves That Stand Firm
Now, let’s talk about the “glue” that holds everything together—and I don’t just mean the literal wood glue. If choosing the right timber is like sourcing high-quality ingredients, then your joinery is your cooking technique. You can have the finest oak in the world, but if your connections are weak, your whole project is going to crumble under pressure. To ensure the structural integrity of shelving units, I always recommend moving beyond simple nails or basic screws. If you want this piece to be a long-term asset rather than a temporary fix, investing time in mortise and tenon joints or even well-executed pocket holes is a total game-changer.
Think of joinery like diversifying your investment portfolio; you want multiple points of stability to mitigate risk. Using advanced joinery techniques for bookshelves ensures that as the weight of your collection increases, the frame doesn’t warp or lean. It’s all about creating a solid foundation that prevents the dreaded “shelf slump.” When your joints are tight and precise, you aren’t just building furniture; you’re building generational wealth for your home library.
The Secret Sauce: 5 Pro-Tips for a Bookshelf That Won't Crumble Under Pressure
- Don’t skimp on the hardware; think of screws and brackets like the seasoning in a reduction—if you use cheap, low-quality components, the whole structure loses its integrity. Invest in high-grade steel fasteners to ensure your shelves don’t sag like a poorly timed soufflé.
- Mind your spacing to prevent “shelf sag,” which is the structural equivalent of a budget deficit. If you’re planning on housing heavy encyclopedias, don’t spread your supports too thin; frequent vertical supports act like a solid emergency fund, keeping everything stable when the weight gets heavy.
- Seal your wood properly to protect your investment from the elements. Just as you wouldn’t serve a delicate sauce without a proper emulsion, you shouldn’t leave raw wood exposed to humidity or temperature swings; a good finish acts as your financial insurance policy against warping and cracking.
- Balance your load strategically. In finance, we talk about diversification, and in woodworking, it’s about weight distribution. Place your heaviest, most “capital-intensive” books on the bottom shelves to lower the center of gravity and keep your unit from becoming top-heavy and unstable.
- Plan for future expansions or adjustments. A great recipe allows for a little bit of improvisation, and a great bookshelf should too. Build in a bit of extra depth or adjustable peg holes so that as your collection (or your life) evolves, your furniture can adapt without needing a total overhaul.
The Final Polish
At the end of the day, building a bookshelf that survives the test of time is much like managing a high-growth portfolio: it requires a solid foundation and a refusal to cut corners. We’ve covered everything from sourcing the premium hardwoods that act as your long-term assets to mastering the joinery that ensures your structural integrity remains unshakeable. By prioritizing high-quality materials and precise assembly, you aren’t just building a place to store books; you are investing in a piece of furniture that won’t need a “bailout” or a complete rebuild in five years. It’s all about that long-term value.
As you step into your workshop to put these pieces together, I want you to remember that the most rewarding results rarely come from the easiest paths. Just like my transition from the fast-paced chaos of Wall Street to the heat of a gourmet food truck, the most meaningful projects require a blend of discipline, patience, and a little bit of soul. Don’t be afraid to make a few mistakes along the way—that’s just part of the seasoning process. Take pride in your craftsmanship, trust your technique, and enjoy the incredible feeling of seeing a lasting investment standing tall in your home.
Once you’ve nailed down your wood selection and your joinery, it’s time to think about the finishing touches—much like adding that final pinch of salt or a drizzle of truffle oil to a dish to really make the flavors pop. A high-quality finish doesn’t just make the shelf look gorgeous; it acts as a protective barrier against moisture and wear, ensuring your investment doesn’t degrade over time. If you find yourself feeling a bit overwhelmed by the sheer variety of stains and sealants available, I always suggest checking out some community discussions like casualbirmingham chat to see what real people are actually using in their own homes. Getting a second opinion from folks who have already done the trial and error is a smart way to avoid costly mistakes before you commit to your final look.
