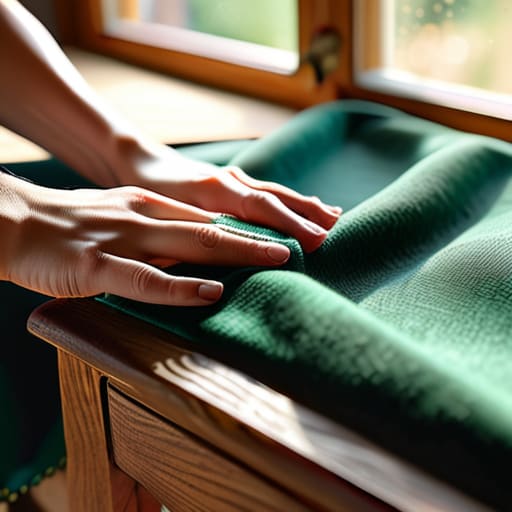
I was staring at my grandmother’s vintage velvet armchair last Tuesday, feeling that familiar pang of “buyer’s remorse” for a piece I didn’t even buy. It looked like a relic from a dusty attic, but I knew the bones were solid—much like a high-quality stock that’s just gone through a temporary market dip. Most people see a worn-out seat and think it’s time for the landfill, but I’ve learned that knowing how to reupholster a chair is actually the ultimate way to protect your investment. Instead of dumping your capital into a mass-produced replacement from a big-box store, you can infuse new life into something with actual soul.
Think of this guide as your kitchen prep station; we aren’t going to dive into the heat without having our mise en place ready. I’m going to skip the fluff and give you the straight-up, no-nonsense breakdown of the tools, fabrics, and techniques you actually need to succeed. Whether you’re looking to save a few bucks or just want the satisfaction of a DIY masterpiece, I’ll show you how to manage this project with the same precision and care you’d use when perfecting a delicate reduction sauce.
Table of Contents
- Step-by-Step Instructions
- Sourcing the Finest Ingredients Best Fabric for Chair Seats
- Essential Kitchenware for Crafts Upholstery Tools for Beginners
- The Secret Sauce: 5 Pro-Tips for a Flawless Finish
- The Secret Sauce to a Successful Transformation
- The ROI of a Second Chance
- The Final Presentation: Serving Up Your Success
- Frequently Asked Questions
Guide Overview
Tools & Supplies
- Staple gun and staples for securing fabric
- Pliers for pulling old staples and fabric
- Fabric scissors for precise cutting
- Measuring tape for fabric dimensions
- Screwdriver for removing seat components
- Upholstery fabric (2-3 yards depending on chair size)
- High-density foam (1 piece matching seat dimensions)
- Batting/Dacron (1 roll to smooth edges and add loft)
- Spray adhesive (1 can to secure foam and batting)
Step-by-Step Instructions
- 1. First things first, you need to do a complete “inventory audit” of your chair. Just like I wouldn’t start a new recipe without checking if I actually have enough shallots in the pantry, you shouldn’t dive in without knowing what you’re working with. Carefully remove the old fabric to see the condition of the foam and the frame underneath. If the padding is crumbling like an overbaked shortbread cookie, it’s time to invest in some fresh high-density foam before you move forward.
- 2. Once you’ve cleared the deck, it’s time to map out your new “budget”—in this case, your fabric. Lay your new material out on a large surface and place the chair seat right in the middle. You want to make sure you have enough “capital” (extra fabric) extending at least three to four inches beyond the edges of the seat on all sides. Cutting it too close is a rookie mistake that will leave you with no way to pull the fabric taut.
- 3. Now, let’s get to the heavy lifting: the stretching. Think of this like emulsifying a delicate sauce; you need steady, even pressure to avoid lumps or tears. Start by pulling the fabric tight over one side and securing it with a staple gun, then do the same for the opposite side. You’re looking for that perfect tension—not so tight that the fabric puckers, but not so loose that you end up with unsightly wrinkles later.
- 4. With your sides secured, move to the corners. This is the most technical part of the “recipe,” and it requires a bit of finesse. You’ll need to fold the excess fabric into neat, crisp pleats so they don’t bunch up awkwardly under the seat. If you treat these corners with meticulous attention to detail, the final result will look professionally upholstered rather than a DIY disaster.
- 5. Once the fabric is pulled tight and the corners are tucked, go around the perimeter and finish your “closing entries” by stapling the remaining edges down. Space your staples about two inches apart to ensure the fabric stays locked in place. It’s all about consistency and rhythm here; if your staple placement is erratic, the tension will be uneven across the entire piece.
- 6. Finally, it’s time for the “quality control” phase. Take a moment to run your hands over the surface to check for any hidden bumps or loose spots. If everything feels smooth and secure, you’ve successfully managed your resources and completed your project! There is truly nothing more rewarding than seeing a high-value transformation come to life through your own hard work.
Sourcing the Finest Ingredients Best Fabric for Chair Seats
Choosing the right fabric for your project is exactly like selecting the base for a high-end risotto; if your foundation is subpar, no amount of seasoning will save the final dish. When searching for the best fabric for chair seats, you have to balance aesthetics with durability. If this is a high-traffic dining chair, I recommend a heavy-duty polyester blend or a tightly woven velvet. You want something that can withstand the “daily grind” without fraying at the edges. Before you get too carried away with a gorgeous pattern, always run your choice through an upholstery fabric yardage calculator to ensure you aren’t left short mid-project—there is nothing more stressful than running out of material when you’re halfway through a seam!
Don’t forget that the “flavor profile” of your chair also depends on what’s underneath the surface. While you’re busy removing old fabric from furniture, take a moment to inspect the internal structure. If the seat feels a bit flat or lacks that “gourmet” bounce, it might be time for replacing chair foam padding. Investing in high-density foam is like using premium butter in a sauce; it elevates the entire experience and ensures your hard work lasts for years to come.
Essential Kitchenware for Crafts Upholstery Tools for Beginners
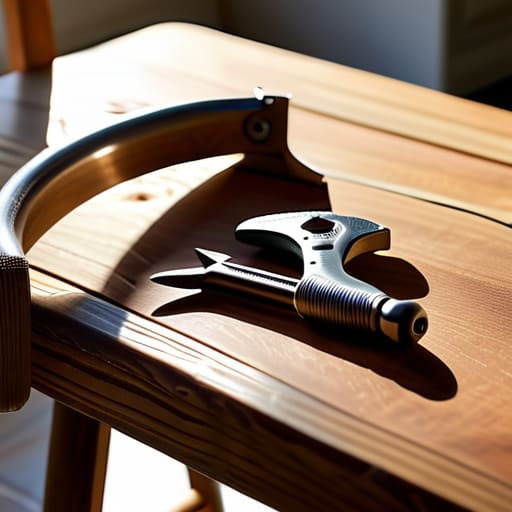
Before you start diving into the actual work, think of your tool kit like a well-stocked pantry. You wouldn’t attempt a delicate soufflé without a whisk and a reliable oven, right? When you’re gathering your upholstery tools for beginners, you don’t need a professional workshop, but you do need the right essentials to avoid a “kitchen nightmare” scenario. A sturdy staple gun is your heavy hitter here—investing in a decent one will save you from a lot of frustration later. I like to think of it as your primary heat source; if it’s inconsistent, the whole project can fall flat.
Beyond the basics, don’t overlook the importance of precision instruments. You’ll want a sharp pair of fabric shears (never use them on paper, or you’ll dull them faster than a cheap steak knife!) and a staple remover for those tricky spots. If you’re planning on replacing chair foam padding, grab a utility knife to ensure clean, even cuts. Getting these small details right is just like prepping your mise en place; when your tools are organized and ready, the actual “cooking” becomes much more fluid and, dare I say, even fun!
The Secret Sauce: 5 Pro-Tips for a Flawless Finish
- Don’t throw away the “scraps”—keep your old fabric and foam for a few days. Just like saving leftover ingredients for a killer stock, those old pieces are your blueprint if you realize your measurements were a little off halfway through.
- Measure twice, cut once, and then measure one more time. In finance, we call this due diligence; in upholstery, it’s the difference between a perfectly snug seat and a fabric that’s pulling so tight it looks like it’s under a high-interest debt crisis.
- Work in small, even increments. If you try to pull all the fabric tight at once, you’ll end up with wrinkles that look like a poorly folded napkin. Think of it like seasoning a sauce—add a little bit at a time, blending it in as you go to ensure total consistency.
- Invest in quality staples, not the cheap stuff. Using low-grade fasteners is like trying to build a business on a shaky foundation; it might look fine on day one, but the moment someone sits down, the whole thing is going to crumble.
- Mind the tension, but don’t overcook it. You want the fabric taut and smooth, but if you pull too hard, you risk tearing the fibers or warping the frame. It’s all about finding that “Goldilocks” zone—just enough pressure to hold, but not enough to cause a breakdown.
The Secret Sauce to a Successful Transformation
Don’t skimp on your “ingredients”—investing in high-quality fabric and the right tools might feel like a bigger upfront cost, but it prevents a total recipe failure and ensures your chair lasts for years to come.
Precision is everything, much like balancing flavors in a reduction; take your time with the measurements and the tension of the fabric to avoid a messy, lopsided finish.
View this project as a high-yield investment in your home; by upcycling instead of buying new, you’re practicing smart resource management while gaining a custom piece that’s worth much more than its original price tag.
The ROI of a Second Chance
“Think of reupholstering an old chair like restructuring a portfolio: you’re stripping away the outdated assets, investing in high-quality materials, and ultimately transforming something depreciated into a centerpiece that yields a lifetime of value.”
Madeline Thompson
The Final Presentation: Serving Up Your Success
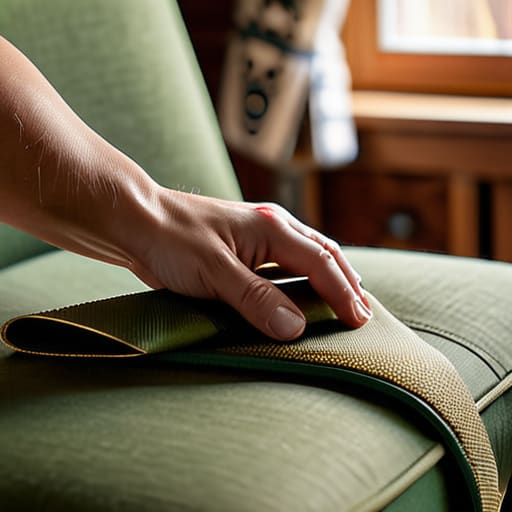
Now that we’ve prepped our station and handled the heavy lifting, take a moment to admire what you’ve accomplished. From selecting the perfect, high-quality fabric to meticulously using your tools to secure that tension, you’ve essentially completed a full-scale kitchen renovation, but for your living room. Just like balancing a complex budget or perfecting a delicate reduction sauce, reupholstering requires a blend of precision and patience. You didn’t just patch up an old seat; you managed your resources, invested in quality materials, and executed a plan that turned something dated into something valuable. It’s all about the attention to detail that transforms a basic task into a professional-grade result.
As you sit back and enjoy your first meal in your newly transformed chair, I want you to remember the bigger picture. Whether you are mastering a new upholstery technique, scaling your career, or fine-tuning your investment portfolio, the secret ingredient is always the same: the courage to try. Don’t let the fear of a “messy kitchen” or a failed first attempt stop you from investing in yourself. Every mistake is just a lesson in seasoning, and every success is a dividend paid on your hard work. You have the tools, you have the recipe, and now, you have the confidence to create something beautiful. Bon appétit!
Frequently Asked Questions
Is it worth investing in high-end foam, or can I just stretch my budget by using what's already under the fabric?
Think of your chair’s foam like the foundation of a great risotto—you can skimp on the fancy saffron, but if your base stock is weak, the whole dish falls flat. If your current foam is crumbling or compressed, don’t try to “stretch the budget” by reusing it; it’s a bad investment that leads to a low-quality result. Invest in high-density foam now. It’s a capital expense that pays dividends in comfort for years!
How do I know if a vintage chair is a "good investment" worth the labor, or if I'm just pouring money into a broken recipe?
Think of it like evaluating a recipe before you commit to a four-hour slow roast. You have to check the “ingredients” first. Is the frame solid wood, or is it cheap particle board that’ll crumble like an overbaked biscuit? If the bones are strong, the ROI on your labor is high. But if the structure is shot, you’re just throwing good money after bad. Always audit the frame before you buy the fabric!
What should I do if I realize halfway through that I've miscalculated my fabric yardage—is there a way to pivot without starting from scratch?
Oh, the dreaded “budget overrun”! We’ve all been there—it’s like realizing you’re halfway through a reduction and realize you’re short on stock. Don’t panic; don’t scrap the whole project. Instead, pivot to a “fusion” approach. Use your remaining fabric for the seat and source a complementary, solid-colored textile for the backrest. It’s like adding a side dish to balance a main; it creates a deliberate, stylish contrast without breaking the bank.
