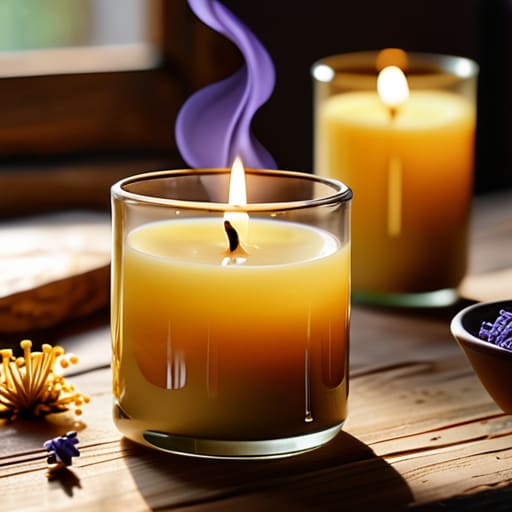
I was standing in my kitchen last Tuesday, staring at a melted, soot-covered disaster that looked more like a failed science experiment than a luxury home fragrance, and I realized something: most people think learning how to make candles requires a massive upfront investment or a degree in chemistry. Honestly? That’s just bad math. Just like trying to scale a gourmet food truck business without checking your margins, jumping into candle making without a solid foundation leads to nothing but wasted capital and a lot of expensive, smelly messes. You don’t need a laboratory; you just need to understand the recipe of heat, wax, and patience.
In this guide, I’m stripping away the fluff and giving you the high-yield strategy for success. We aren’t just going to dabble; we are going to master the precise ratios and temperatures required to create something truly professional. I’ll walk you through everything from selecting your “base ingredients” to the final pour, ensuring you avoid the common pitfalls that drain your wallet. By the time we’re done, you’ll know how to make candles that look—and smell—like a premium boutique brand without the premium price tag.
Table of Contents
- Step-by-Step Instructions
- Sourcing Premium Soy Wax Candle Making Supplies
- Selecting Essential Oils for Scented Candles Like Fine Spices
- The Secret Sauce: 5 Pro-Tips for a High-Yield Candle Pour
- The Secret Sauce to Candle Success
- The ROI of a Perfect Pour
- The Final Pour: From Raw Ingredients to Masterpiece
- Frequently Asked Questions
Guide Overview
Tools & Supplies
- Double boiler or heat-safe bowl and pot for melting
- Thermometer to monitor wax temperature
- Pouring pitcher for controlled pouring
- Scale for precise measurements
- Soy or paraffin wax (approx. 1-2 lbs)
- Candle wicks (set of pre-tabbed wicks)
- Fragrance oils (1-2 oz)
- Candle jars or tins (2-4 units)
- Wick centering tools or clothespins
Step-by-Step Instructions
- 1. First things first, you need to gather your raw materials. Think of this like prepping your mise en place before a high-stakes dinner service; if you’re hunting for a spatula halfway through melting wax, you’re going to lose your momentum. You’ll need soy or paraffin wax, wicks, fragrance oils, containers (like glass jars or tins), and a double boiler. I always tell my crew that investing in quality ingredients upfront is the best way to avoid a total budget blowout later when your candles don’t smell like anything.
- 2. Next, we need to get that wax melting. Set up your double boiler—which is really just a smaller pot sitting inside a larger one filled with water—to ensure you don’t scorch your wax. This is exactly like simmering a delicate reduction; if you apply too much direct heat, you’ll ruin the entire batch. Keep a close eye on the thermometer, because overheating wax is a waste of money and a serious safety hazard.
- 3. Once your wax is liquid and reaches the appropriate temperature, it’s time to introduce the flavor—or in this case, the scent. This is where your creativity really shines, much like experimenting with fusion spices in a new recipe. Add your fragrance oils slowly and stir gently for at least two minutes to ensure everything is fully incorporated. If you rush this step, you’ll end up with “scent pockets,” which is basically the candle-making equivalent of an unseasoned dish.
- 4. Now, let’s talk about the structural foundation: the wick. Before you pour, you need to center your wick at the bottom of your container. I like to use a tiny bit of melted wax or a wick sticker to secure it, then use a clothespin or a pencil to keep it perfectly upright. If your wick is crooked, your candle will burn unevenly, and nothing kills my vibe faster than inefficient resource management.
- 5. It’s time for the big pour! Slowly pour your scented wax into your prepared containers, leaving just a little bit of room at the top. Do this carefully to avoid creating air bubbles, which are like those unwanted lumps in a béarnaise sauce. Once poured, let them sit undisturbed at room temperature. You can’t rush excellence, and trying to speed up the cooling process is just bad business.
- 6. Finally, we reach the patience phase: the cure. For soy wax specifically, I highly recommend letting your candles cure for at least a week before lighting them. I know, I know—it’s hard to wait when you want that immediate ROI, but this allows the fragrance to truly bond with the wax. Think of it like letting a fine stew sit overnight; the flavors (and scents) need time to reach their full potential.
Sourcing Premium Soy Wax Candle Making Supplies
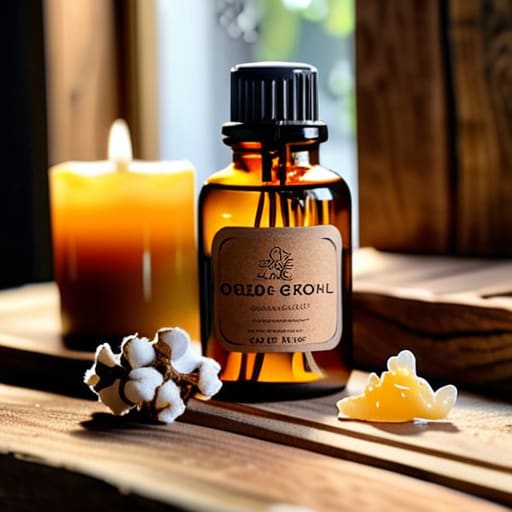
Now, let’s talk about the “ingredients.” Just like when I was sourcing the finest organic basil for my food truck, you can’t expect a five-star result if you’re working with bottom-shelf components. If you’re diving into candle making for beginners, it is tempting to just grab the cheapest kit you see on a random website, but think of it as buying pre-ground, stale spices versus fresh, high-quality herbs. You’ll notice the difference immediately in the burn quality and the scent throw.
When you start hunting for soy wax candle making supplies, I recommend looking for suppliers that specialize in single-origin or sustainably sourced materials. You want a wax that is clean-burning and holds its structure, much like a well-balanced roux. While you’re at it, don’t skimp on your fragrances; investing in high-quality essential oils for scented candles will transform your creation from a simple hobby project into a luxury experience that rivals any boutique brand. It might require a slightly higher initial investment—think of it as your startup capital—but the ROI on your scent quality will be absolutely delicious.
Selecting Essential Oils for Scented Candles Like Fine Spices
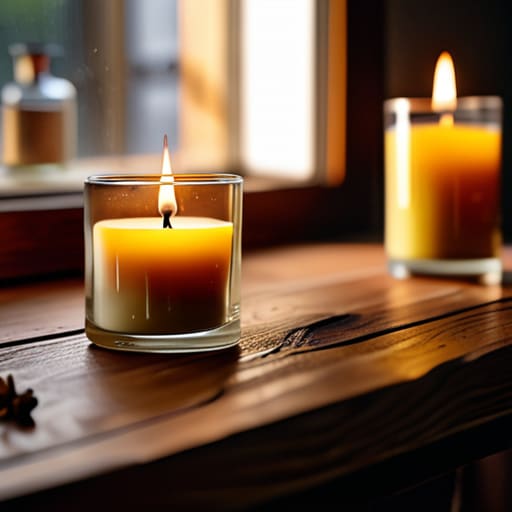
Now, let’s talk about the soul of your candle: the scent. Choosing your essential oils for scented candles is remarkably similar to selecting spices for a signature reduction sauce. You wouldn’t just dump a handful of salt into a delicate consommé, right? You need balance. If you’re just starting out with candle making for beginners, it’s tempting to go heavy on the lavender or citrus, but I always tell my team to think in layers. You want a top note that hits you immediately, a heart note that provides the body, and a base note that lingers like a well-aged balsamic.
When you’re sourcing your natural candle making materials, remember that quality is your best investment. In my Wall Street days, we talked about “diminishing returns,” and the same applies here; using cheap, synthetic fragrances might save you a few cents upfront, but the “payoff” in scent throw and burn quality will be lackluster. Aim for high-quality, pure oils that complement the creamy texture of your soy wax. It’s all about finding that perfect aromatic equilibrium that turns a simple hobby into a premium sensory experience.
The Secret Sauce: 5 Pro-Tips for a High-Yield Candle Pour
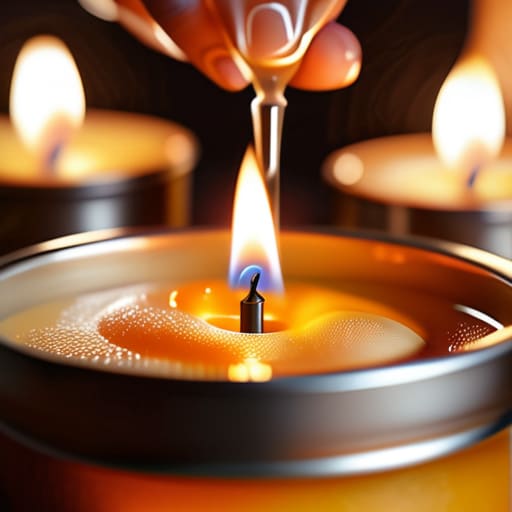
- Temperature control is your most important ingredient; think of it like tempering chocolate or managing a delicate reduction. If your wax is too hot when you add those precious essential oils, you’ll “burn off” your profit margins—and your scent—right into the air. Aim for that sweet spot where the fragrance binds perfectly to the wax.
- Don’t skimp on the wick selection, because a bad wick is like a poorly managed budget—it’s going to cause nothing but stress. If the wick is too small, you’ll get “tunneling,” which is essentially wasting your raw materials. A well-sized wick ensures an even melt pool, maximizing the life of every single ounce you pour.
- Patience is a virtue, especially when it comes to the “curing” process. Just like a fine stew needs time to let the flavors marry, a candle needs time for the molecular structure to stabilize. If you light it too soon, you’re rushing the process and risking a subpar burn. Give it a week if you can; your nose (and your wallet) will thank you.
- Precision in measurement is non-negotiable. In my old life on Wall Street, being off by a decimal point was a disaster; in candle making, it’s the difference between a luxury product and a messy flop. Use a digital scale rather than measuring by volume to ensure your fragrance-to-wax ratio is consistent every single time.
- Always conduct a “test batch” before you go all-in on a large production run. In business, we call this a pilot program. You wouldn’t launch a new menu item without tasting it first, so don’t commit your entire inventory to a new scent profile until you’ve verified the burn rate and scent throw in a controlled environment.
The Secret Sauce to Candle Success
Think of your supplies like your initial capital investment; skipping on high-quality wax or oils to save a few pennies might seem smart, but it’ll cost you more in the long run when your “product” doesn’t deliver that premium experience.
Precision is your best friend, whether you’re balancing a quarterly budget or measuring out fragrance oils—small errors in your ratios can lead to a scent profile that’s completely off-balance.
Treat every failed batch as a low-cost lesson in R&D rather than a total loss; even the most seasoned chefs and analysts have to tweak their formulas before they hit that perfect, profitable sweet spot.
The ROI of a Perfect Pour
“Think of candle making like managing a high-growth portfolio: you can’t expect a premium return if you’re cutting corners on your initial investments. When you source top-tier wax and high-quality oils, you aren’t just making a candle; you’re investing in a sensory experience that pays dividends in pure, cozy satisfaction.”
Madeline Thompson
The Final Pour: From Raw Ingredients to Masterpiece
At this point, you’ve done the heavy lifting, which is honestly a lot like balancing a complex P&L statement or prepping a five-course tasting menu. We’ve covered everything from selecting high-quality soy wax—think of it as your foundational capital—to curating those essential oils that act as the seasoning for your home’s ambiance. Remember, the secret to a successful candle, much like a successful investment portfolio, lies in the quality of your inputs. If you rush the cooling process or skimp on the fragrance load, you’ll see the returns in a poorly performing wick rather than a beautiful glow.
As you light that very first candle you’ve crafted, I want you to take a second to really savor the moment. Whether you’re doing this to save a few bucks on home decor or to launch a side hustle that could eventually rival a Wall Street bonus, you are investing in yourself. Making something with your own two hands provides a sense of agency that is incredibly empowering, both in the kitchen and in your bank account. So, keep experimenting, keep refining your technique, and never be afraid to adjust your recipe until you find perfection. Happy pouring!
Frequently Asked Questions
How do I prevent my candles from tunneling or having an uneven surface, similar to how a sauce might break if the temperature isn't just right?
Think of candle tunneling like a broken emulsion in a delicate hollandaise—it’s all about temperature control and patience. To prevent that annoying hollow center, you have to “train” your wick. On your first burn, let the wax melt all the way to the edges. If you pull it too early, you’re essentially leaving money on the table! Aim for a consistent melt pool to ensure your “investment” burns evenly and beautifully every single time.
Is it worth investing in high-end wicks, or can I find a budget-friendly alternative that won't compromise the quality of the burn?
Think of wicks like the foundation of a solid investment portfolio; if the base is shaky, the whole thing collapses. You could go for the budget-friendly options to save some upfront capital, but if they cause tunneling or soot, you’re essentially throwing money down the drain through wasted wax and frustrated customers. I prefer investing in high-quality wicks. It’s a small overhead cost that ensures a clean, consistent burn—the ultimate ROI for your candle making.
How can I balance the scent throw so the fragrance is noticeable without being overwhelming, much like finding the perfect ratio of spices in a signature dish?
Think of scent throw like seasoning a delicate reduction; you want the flavor to sing, not drown out the base. In candle making, this means mastering your fragrance load. I usually aim for a 6-10% ratio. If you go too heavy, you risk “sweating” wax—kind of like an over-salted soup that’s just unpleasant. Test small batches first to find that “sweet spot” where the aroma fills the room without hitting you like a sledgehammer.
