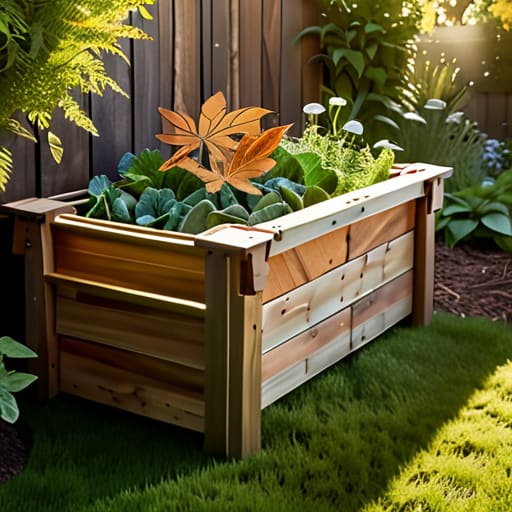
I was standing in my small kitchen, staring at a mountain of vegetable scraps and feeling like I was throwing pure gold straight into the trash. It’s a common mistake to think that composting is some high-maintenance, expensive hobby reserved for people with massive organic farms, but that couldn’t be further from the truth. In reality, learning how to make a compost bin is a lot like managing a high-yield investment portfolio: it’s all about how you balance your inputs to ensure a steady, profitable return. You don’t need a massive budget or a degree in soil science; you just need the right ingredients and a little bit of strategic planning to turn your “waste” into something incredibly valuable.
In this guide, I’m stripping away the fluff to give you a no-nonsense blueprint for success. I’ll walk you through the exact steps of how to make a compost bin that actually works, without the typical headaches or unpleasant smells that scare most people off. We’re going to cover everything from selecting your “vessel” to mastering the perfect ratio of greens and browns. By the time we’re done, you’ll be able to transform your kitchen scraps into nutrient-rich black gold that will make your garden—and your wallet—very happy.
Table of Contents
- Step-by-Step Instructions
- Selecting Your Pantry a Complete Compost Bin Materials List
- Crafting the Perfect Vessel Wooden Compost Bin Construction Techniques
- Seasoning Your Bin: 5 Pro-Tips for a High-Yield Compost Harvest
- The Secret Sauce: My Top 3 Tips for Composting Success
- The Long-Term Investment of Your Scraps
- Serving Up Success: Your Compost Journey Starts Now
- Frequently Asked Questions
Guide Overview
Tools & Supplies
- Drill with spade bit for ventilation holes
- Handsaw or garden shears for trimming
- Plastic storage bin (18-30 gallons)
- Drill bits (various sizes)
- Potting soil or finished compost (small handful)
Step-by-Step Instructions
- 1. First, you need to gather your “capital”—and by that, I mean your materials. Just like you wouldn’t start a high-stakes trade without checking your liquidity, don’t start building without the right gear. You’ll need some sturdy wooden pallets (check local businesses, they often give them away for free—think of it as finding a hidden discount!), a few long screws, a drill, and some heavy-duty wire or zip ties. If you want to go more high-end, you could use cedar, which is the “blue chip stock” of garden wood because it resists rot beautifully.
- 2. Next, let’s prep our workspace by choosing the perfect location. You want a spot that is level and has good drainage, much like how you’d want a balanced portfolio to prevent any sudden, messy crashes. Ideally, place your bin in a spot that gets a mix of sun and shade. Too much sun will dry out your compost “assets,” and too much shade will keep it too cold to “grow” properly.
- 3. Now, it’s time for the assembly, which is essentially the mise en place of construction. Stand three of your pallets upright to form a U-shape. This creates the walls of your bin. Use your drill to secure the corners where the pallets meet. I like to use long, galvanized screws here because they act like a strong contract—they keep everything held together even when things get a little heavy and pressurized.
- 4. For the fourth side, you have a choice to make regarding your “exit strategy.” You can either screw in a fourth pallet to create a fully enclosed box, or you can use wire mesh to create a gate. Personally, I prefer a removable front panel or a gate. Why? Because you need to be able to get into the mix to turn it! In finance, if you can’t access your funds, you’re in trouble; in composting, if you can’t access your scraps, your investment will stagnate.
- 5. Once the structure is standing tall, it’s time to layer your ingredients. Think of this like building a complex flavor profile in a slow-cooked stew. You need a base of “browns”—things like dried leaves, shredded cardboard, or straw—which provide the carbon. Then, layer in your “greens”—fruit scraps, veggie peels, or coffee grounds—which provide the nitrogen. The secret to a high ROI (Return on Investment) here is to keep a ratio of roughly three parts brown to one part green. Consistency is key to avoiding that funky, unpleasant smell.
- 6. Finally, give your bin a little bit of “market volatility” by turning the pile. Every week or two, take a pitchfork and toss the materials around. This introduces oxygen, which acts like the catalyst for growth in your compost ecosystem. Without air, your pile will just sit there like a stagnant savings account. Keep it moist, keep it turning, and soon you’ll have “black gold” ready to invest back into your garden!
Selecting Your Pantry a Complete Compost Bin Materials List
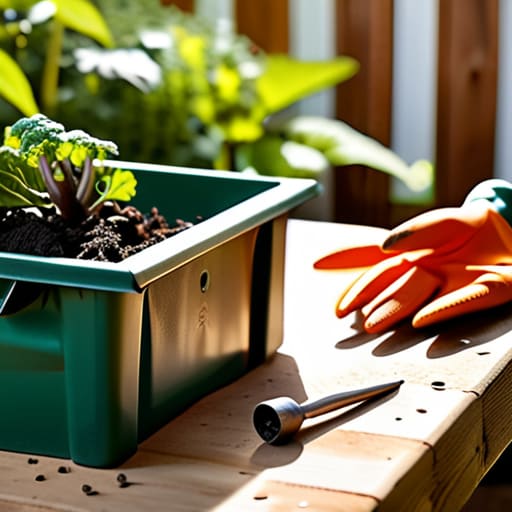
Before you start chopping up your scraps, you need to stock your workstation. Just like I wouldn’t dream of starting a high-stakes trade without a clean spreadsheet, you shouldn’t start your bin without the right gear. If you’re on a budget—and let’s be real, we all love a good ROI—I highly recommend recycling plastic bins for compost. It’s the ultimate way to reduce overhead costs while giving your organic waste a second life. Just make sure you drill a few holes for aeration for compost bins; without oxygen, your pile will smell worse than a burnt roux in a busy kitchen.
If you’re looking to scale up your operation, you might consider a more permanent wooden compost bin construction. Think of this as investing in high-end kitchen appliances; it requires more upfront capital, but the long-term durability is unmatched. Whether you’re going small-scale with a specialized vermicomposting setup or building something massive, the key is consistency. Don’t get bogged down in perfectionism—just ensure your materials are sturdy enough to handle the heat of the breakdown process!
Crafting the Perfect Vessel Wooden Compost Bin Construction Techniques
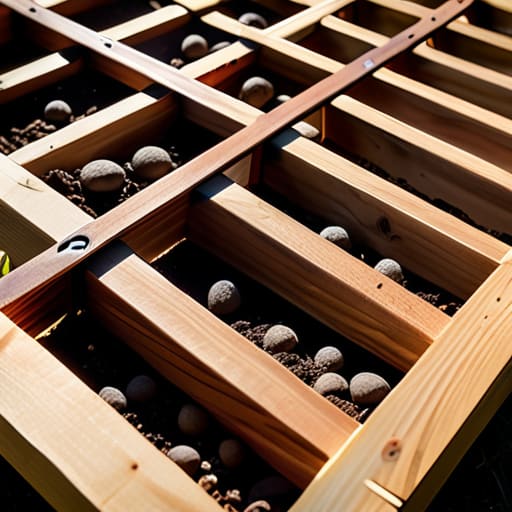
Now, let’s get into the actual build. Think of wooden compost bin construction like setting up a professional kitchen station; if your workspace isn’t organized and structurally sound, the whole service falls apart. When you’re working with wood, you want to prioritize airflow. Just like a good reduction needs heat and air to thicken, your compost needs oxygen to thrive. I recommend leaving small gaps between your slats to ensure optimal aeration for compost bins. If you seal it up too tight, you’re basically creating a swampy mess instead of “black gold.”
When you’re deciding on your layout, don’t just wing it. You need to consider your specific compost bin dimensions for backyard use to ensure it’s large enough to generate heat but small enough to manage without feeling overwhelmed. I like to think of it as scaling a recipe—if the pot is too big for the burner, you won’t get the results you want. Aim for a sturdy, rectangular frame that can handle the weight of all those organic scraps. A little bit of structural planning now saves you a massive headache (and a lot of wasted money) later!
Seasoning Your Bin: 5 Pro-Tips for a High-Yield Compost Harvest
- Balance your ingredients like a perfect vinaigrette. You need a mix of “greens” (nitrogen-rich scraps like veggie peels) and “browns” (carbon-rich items like dried leaves). Too much of one is like a dish that’s all salt and no acid—it just won’t balance out.
- Don’t let your compost go stagnant; it needs airflow to thrive. Think of aerating your pile like folding egg whites into a batter. You want to keep it light and airy so the beneficial microbes can breathe and do their job.
- Moisture management is everything. Your bin should feel like a wrung-out sponge—damp, but not soaking wet. If it’s too dry, the decomposition process stalls out, much like a business without any cash flow to keep the lights on.
- Size matters when it comes to prep work. Chop up your kitchen scraps into smaller pieces before tossing them in. It’s the same principle as fine-mincing garlic; the smaller the surface area, the faster it integrates into the whole.
- Keep the “bad” ingredients off the menu. Avoid adding meat, dairy, or oily scraps to your bin. Just like you wouldn’t put heavy grease in a delicate consommé, these items will ruin the “flavor” of your compost by attracting pests and creating nasty odors.
The Secret Sauce: My Top 3 Tips for Composting Success
Treat your compost like a balanced budget; you need the right ratio of “greens” (nitrogen-rich scraps) and “browns” (carbon-rich materials) to ensure your ecosystem doesn’t go into a deficit or get too messy.
Think of aeration as your periodic financial audit; by turning your pile regularly, you’re ensuring oxygen flows freely, preventing that unpleasant “stagnant” smell and keeping the decomposition process moving toward a high ROI.
Don’t let your investment sit idle—monitor the temperature and moisture levels like you would a fluctuating market, making small adjustments to keep the “heat” on your microbes so they can work their magic faster.
The Long-Term Investment of Your Scraps
“Think of building a compost bin like setting up a high-yield savings account for your garden; you’re taking those little daily ‘expenses’—your kitchen scraps—and investing them into a cycle that pays massive dividends in rich, nutrient-dense soil.”
Madeline Thompson
Serving Up Success: Your Compost Journey Starts Now
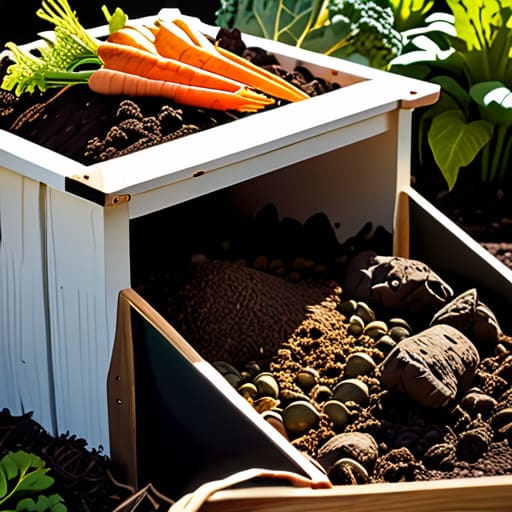
Now that we’ve walked through the entire “recipe” for your new compost bin—from selecting the right high-quality materials to the actual construction of your wooden vessel—you’re officially ready to start cooking up some black gold. Just like managing a diverse investment portfolio, composting requires a bit of a delicate balance between your “greens” (the nitrogen-rich scraps) and your “browns” (the carbon-heavy materials). If you keep your ingredients well-proportioned and maintain a healthy airflow, you won’t just be reducing waste; you’ll be building a high-yield asset for your garden that pays dividends in nutrient-dense soil for years to come.
At the end of the day, whether you are balancing a complex spreadsheet or tending to a compost pile, the secret ingredient is always consistency and patience. You won’t see the transformation overnight, but much like the magic of compound interest, those small, daily efforts eventually snowball into something truly magnificent. Don’t be afraid to get your hands a little dirty in the process. Mastering this small cycle of renewal is a beautiful way to take control of your environmental footprint and your kitchen’s output. So, grab your tools, get prepping, and let’s turn those leftovers into something absolutely delicious for your earth!
Frequently Asked Questions
How do I keep my compost bin from smelling like a kitchen disaster if I add too many scraps?
Think of your compost bin like a high-stakes risotto: if you dump too much liquid or heavy starch in at once without enough aeration, it turns into a mushy, stinky mess. To fix a “smelly” budget or a smelly bin, you need balance. If things get too damp, toss in some “browns”—dried leaves or shredded cardboard—to soak up the excess. It’s all about managing your ratios to keep the process healthy and fragrant!
Is it worth investing in more expensive materials, or can I get great results with a budget-friendly DIY setup?
Think of this like choosing between a high-end copper sauté pan and a reliable cast-iron skillet. If you’re just starting out, don’t break the bank! You can absolutely get gourmet-level compost using budget-friendly DIY materials like repurposed plastic bins or even a simple wire mesh. Just like a smart investment strategy, start with the essentials to build your foundation. Once your “compost portfolio” is thriving, then you can consider upgrading to the fancy stuff.
How often do I need to "stir the pot" to make sure my compost is actually breaking down efficiently?
Think of stirring your compost like checking your risotto; you can’t just walk away and expect perfection. To keep that microbial “engine” running, aim to turn your pile once every week or two. This introduces oxygen, which is the secret ingredient for decomposition. If it’s smelling a bit funky or looking stagnant, it’s time to stir the pot! Just like diversifying a portfolio, aeration ensures your compost stays balanced and productive.
