I was standing in my tiny kitchen last Tuesday, staring at a pile of expensive ceramic bowls and a box of brackets, feeling exactly like I did during my first week on Wall Street: completely overwhelmed by the sheer math of it all. Most people will tell you that knowing how to install a shelf is just about grabbing a drill and hoping for the best, but that is a recipe for disaster. If you treat your home projects like a high-stakes investment without checking your foundation first, you’re going to end up with a massive loss—and in this case, that loss is your favorite heirloom platter shattering on the floor.
Don’t worry, though; I’m not here to lecture you on structural integrity, but I am here to make sure you get it right the first time. In this guide, I’m breaking down exactly how to install a shelf using the same precision I use when balancing a budget or perfecting a reduction sauce. We’re going to skip the DIY fluff and dive straight into the essential tools, the secret to finding those elusive studs, and the golden rules of leveling that will ensure your decor stays exactly where it belongs.
Table of Contents
- Step-by-Step Instructions
- Sourcing Your Ingredients Selecting Shelf Bracket Types
- The Secret Technique Drilling Into Drywall vs Studs
- The Secret Sauce: 5 Pro-Tips for a Shelf That Won't Crash and Burn
- The Final Garnish: My Top Takeaways for a Flawless Installation
- The Bottom Line on Stability
- The Final Plating: Serving Up Your Success
- Frequently Asked Questions
Guide Overview
Tools & Supplies
- Drill/Driver for creating holes and driving screws
- Level to ensure the shelf is straight
- Pencil for marking placement
- Measuring tape for accuracy
- Shelf unit (1)
- Shelf brackets (2-4)
- Wall anchors (if not using studs)
- Screws (matching bracket/anchor size)
Step-by-Step Instructions
- 1. Before you even touch a drill, you need to gather your mise en place. Just like you wouldn’t start a complex reduction without having your shallots minced and your stock ready, you shouldn’t start a DIY project without your tools. Grab a level, a stud finder, a drill, some screws, and your anchors. If you skip this part, you’ll end up scrambling mid-project, which is the home improvement equivalent of realizing you’re out of eggs halfway through a souffle.
- 2. Now, let’s talk about the foundation: finding the studs. In the financial world, we call this due diligence. You can’t build a massive investment portfolio on a shaky foundation, and you certainly can’t hang a heavy shelf on just some drywall. Use your stud finder to locate the wooden supports behind your wall. If you manage to hit a stud, you’re in prime real estate; if not, don’t panic—we’ll just use heavy-duty anchors to make sure your shelf doesn’t pull a disappearing act.
- 3. Once you’ve found your spots, it’s time to mark your territory. Hold your shelf bracket up to the wall and use a pencil to mark exactly where the holes need to go. This is where most people trip up, so here’s my pro tip: use a level to ensure your marks are perfectly straight. A crooked shelf is like a poorly balanced budget—it might look okay at first glance, but eventually, everything is going to tip over and cause a mess.
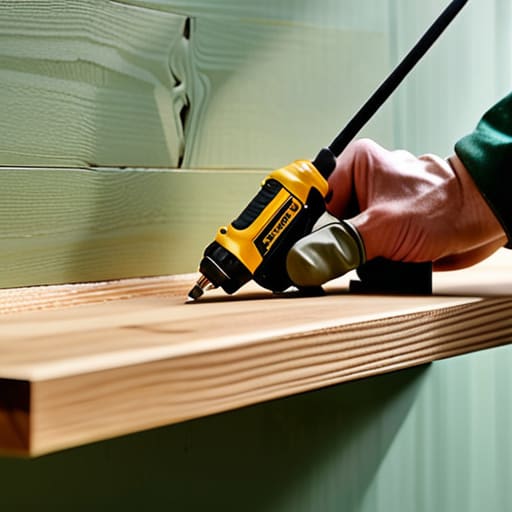
- 4. Time to get a little hands-on with the drill. If you’re mounting directly into a stud, drill a small pilot hole first to guide your screw. If you’re using anchors because you’re working with plain drywall, drill the hole to the specific size recommended on the package. Think of this step as prepping your pan; you want to create the perfect environment so that when you add the “main ingredient” (your shelf), everything fits seamlessly without any unwanted friction.
- 5. Now, we start the assembly. Align your brackets with the holes you’ve prepared and drive your screws in. Don’t go full throttle immediately—start them in by hand to make sure they aren’t stripping the threads. You want to tighten them until they are firm and secure, but be careful not to over-torque them, or you might strip the hole and end up back at square one.
- 6. The final test is the “weight check.” Before you go out and buy a collection of expensive ceramic vases or heavy cookbooks, place the shelf on the brackets and give it a gentle press. You want to ensure there is zero wobbling. If it feels sturdy, you’ve successfully managed your capital investment in home decor. If it’s shaky, it’s much easier to fix it now than it is to clean up shattered glass later!
Sourcing Your Ingredients Selecting Shelf Bracket Types
Before you even pick up a drill, you have to consider your “ingredients.” Just like you wouldn’t use a cheap, thin balsamic for a reduction that needs to hold its weight, you can’t pick just any hardware for your project. Choosing between various shelf bracket types is all about matching your hardware to your intended “menu.” Are you displaying a light collection of spice jars, or are you planning to stack heavy cookbooks? If you’re going for the latter, you’ll need to invest in heavy duty shelf mounting hardware to ensure your investment doesn’t end up in a pile on the floor.
Now, here is where most people skip a step and end up with a “kitchen nightmare.” You need to know exactly what you’re biting into—metaphorically speaking! There is a massive difference between drilling into drywall vs studs, and treating them the same is a recipe for disaster. Think of studs like the solid protein of your wall; they provide the structural integrity you need. If you can’t hit a stud, you’ll need to source high-quality wall anchors for heavy objects to act as the binding agent that keeps everything stable and secure.
The Secret Technique Drilling Into Drywall vs Studs
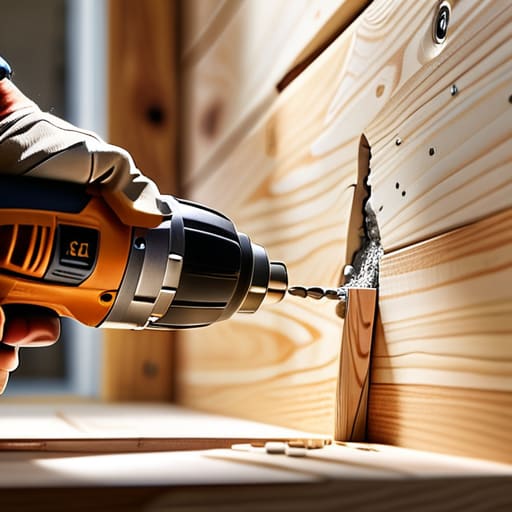
Now, here’s where we separate the amateur cooks from the seasoned chefs: knowing exactly what you’re biting into. In the financial world, we call this due diligence; in home improvement, it’s the difference between a sturdy display and a sudden, expensive crash. When you’re deciding on drilling into drywall vs studs, think of it like choosing between a quick microwave meal and a slow-simmered reduction. Drywall is easy to work with, but it lacks the structural “protein” to hold much weight on its own. If you aren’t hitting a wooden stud, you absolutely cannot skip using high-quality wall anchors for heavy objects.
If you try to hang a heavy collection of cookbooks using only drywall and hope, you’re essentially trying to build a skyscraper on a foundation of whipped cream. Always use a reliable wall stud finder guide or a high-end electronic sensor to locate those solid wooden beams behind the plaster. Finding a stud is like finding a high-yield investment—it’s a bit more effort upfront, but it provides the long-term stability your project needs to thrive without collapsing under pressure.
The Secret Sauce: 5 Pro-Tips for a Shelf That Won't Crash and Burn
- Don’t skimp on the heavy-duty anchors. Just like you wouldn’t use cheap, watered-down stock for a reduction, using flimsy plastic plugs for a heavy shelf is a recipe for disaster. If you aren’t hitting a stud, invest in high-quality drywall anchors so your decor doesn’t end up on the floor.
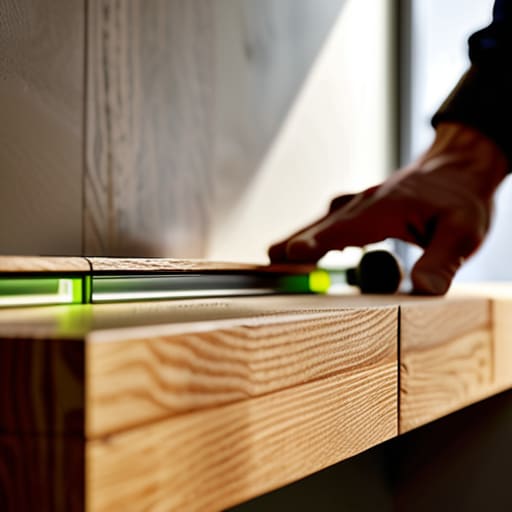
- Level it like you’re balancing a delicate emulsion. A shelf that’s even a tiny bit crooked is like a dish with too much salt—it just throws everything off. Use a bubble level every single time, even if you think your eyes are telling you it’s straight.
- Test the load capacity before you plate. Before you start stacking your heavy cookbooks or expensive ceramics, check the weight rating of your brackets. It’s all about managing your “inventory” so you don’t experience a sudden, messy bankruptcy of your hardware.
- Mind the “clearance” space. Before you drill, make sure you aren’t accidentally putting a shelf right where a door swings open or where your head might bump it. It’s the same as checking your prep space in a cramped kitchen; you need room to move without causing a collision.
- Double-check your math (and your measurements). In my Wall Street days, a misplaced decimal point was a catastrophe; here, a misplaced measurement means a hole in your wall that looks like a mistake. Measure twice, drill once, and keep your “overhead” costs—in this case, wall repairs—to a minimum.
The Final Garnish: My Top Takeaways for a Flawless Installation
Don’t skimp on your hardware; just like using low-quality oil ruins a gourmet stir-fry, choosing cheap, flimsy brackets will cost you more in the long run when your decor ends up on the floor.
Always aim for the studs whenever possible—think of it as building your financial foundation; it takes a little more effort upfront, but it provides the structural integrity you need to support whatever life (or heavy cookbooks) throws at you.
Measure twice and drill once to avoid a “kitchen nightmare”; precision in your prep work saves you from the messy, expensive cleanup of repairing damaged drywall later.
The Bottom Line on Stability
“Installing a shelf is a lot like managing a diversified portfolio: if you don’t anchor your most important assets into something solid, like a wall stud, the whole thing is bound to crash when life gets heavy.”
Madeline Thompson
The Final Plating: Serving Up Your Success
Just like perfecting a signature risotto, installing a shelf is all about the preparation and the precision of your technique. We’ve covered everything from choosing the right “ingredients”—those sturdy brackets that act as your foundation—to the critical “cooking method” of deciding whether you’re drilling into solid studs or navigating the tricky terrain of drywall. Remember, if you don’t secure your hardware properly, the whole dish falls apart, and in this case, that means a very expensive pile of broken ceramics on your floor. By focusing on the details of your setup and ensuring your measurements are as accurate as a high-stakes quarterly budget, you’ve laid the groundwork for a functional, beautiful space.
At the end of the day, whether you are balancing a complex spreadsheet or mounting a heavy oak shelf, the secret to success is the same: confidence through preparation. It’s easy to feel intimidated when you’re staring at a blank wall and a handful of tools, but once you master the basics, you realize you have the power to reshape your environment. Don’t be afraid to make a few mistakes along the way; even the best chefs have a burnt batch or two before they find their rhythm. Take pride in your handiwork, enjoy the view of your newly organized home, and remember that every small win is a step toward a more intentional and beautiful life.
Frequently Asked Questions
I’ve got some heavy cookbooks and ceramic plates—how do I know if my shelf can actually handle the weight without buckling?
Think of this like checking your margins before a big catering event—you don’t want to overpromise and under-deliver! To avoid a “kitchen nightmare” of collapsing shelves, you need to calculate your load capacity. Check your bracket’s weight rating first, then ensure you’ve anchored directly into studs. If you’re relying on drywall anchors, they have a strict “budget” for weight. If your ceramic collection is heavy, invest in sturdier hardware to prevent a total bankruptcy of your decor!
Is there a way to fix it if I accidentally drill a hole in the wrong spot, or am I looking at a total "kitchen nightmare" situation?
Don’t panic—we’ve all had a “kitchen nightmare” moment where the souffle falls or, in this case, the drill slips. It’s not a total loss! Think of it like a minor seasoning error; you can usually fix it with the right filler. Grab some high-quality spackle or even a specialized drywall patch kit. Smooth it out, let it dry, and sand it down until it’s seamless. It’s just a little extra prep work before the final plating!
What’s the best way to make sure everything is perfectly level so my decor doesn't end up sliding off like an unanchored sauce?
Trust me, a crooked shelf is like a broken emulsion—it just looks wrong and eventually falls apart. To keep things steady, grab a bubble level. Place it on your bracket, adjust until that little air bubble is dead center between the lines, and mark it. If you’re feeling fancy, use a laser level to ensure your entire “menu” of decor stays perfectly aligned. Precision now prevents a messy cleanup later!
