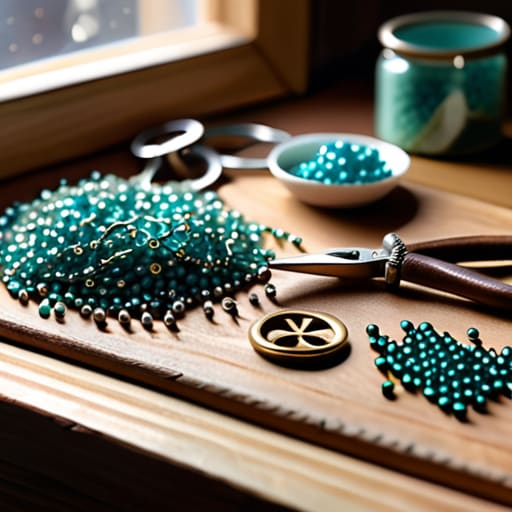
I remember sitting at my kitchen table after a grueling twelve-hour shift on Wall Street, staring at a pile of tangled wire and mismatched beads that I’d impulsively bought on a whim. I thought diy jewelry making was going to be this therapeutic, low-cost escape, but instead, I felt like I was staring at a disastrously mismanaged portfolio—nothing was balancing, the “overhead” of my supplies was skyrocketing, and my final product looked more like a craft store accident than a piece of art. It turns out, just like trying to execute a complex reduction sauce without the right temperature control, you can’t just throw expensive ingredients together and hope for a masterpiece; you need a solid foundation and a bit of strategic planning.
In this guide, I’m stripping away the fluff and giving you the high-yield blueprint for success. We aren’t just playing with trinkets here; we are going to treat your creativity like a startup by mastering the essential tools, sourcing your materials with a frugal eye, and perfecting your techniques. I’ll show you how to avoid the common “budget leaks” that drain your wallet and how to build a collection that looks like it came from a high-end boutique rather than a bargain bin.
Table of Contents
- Step-by-Step Instructions
- Curating Your Jewelry Making Kit Essentials for Success
- Investing in Quality Jewelry Making Tools for Beginners
- Scaling Your Sparkle: 5 Pro Tips to Protect Your Profit Margins and Your Style
- The Secret Sauce: My Golden Rules for Jewelry Success
- The ROI of Creativity
- The Final Polish: Investing in Your Creative Capital
- Frequently Asked Questions
Guide Overview
Tools & Supplies
- Needle-nose pliers for gripping and bending wire
- Wire cutters for trimming metal and cord
- Beading mat to prevent rolling
- Assorted beads (50-100 pieces)
- Jewelry wire or elastic cord (1-2 meters)
- Lobster clasps (2-5 pieces)
- Jump rings (10-20 pieces)
Step-by-Step Instructions
- 1. First, we need to talk about your initial investment, which in this case is your toolkit. Just like you wouldn’t attempt a complex reduction without a high-quality saucepan, you can’t make professional-grade jewelry with dull, cheap tools. Grab yourself a solid set of needle-nose pliers, wire cutters, and a bead mat to keep your “ingredients” from rolling away. Think of this as setting up your kitchen station before the dinner rush begins.
- 2. Next, you have to select your raw materials, or what I like to call your prime ingredients. Whether you’re working with sterling silver wire, colorful glass beads, or delicate gemstones, quality matters. If you buy low-grade materials, your “final dish” will fall apart the moment someone wears it, much like a budget recipe that relies too heavily on cheap fillers. Audit your supplies carefully before you start assembling.
- 3. Now, it’s time for the prep work: measuring and cutting. This is where your precision and discipline come into play. Use your wire cutters to snip your metal or cord to the exact length required for your design. In the financial world, we call this minimizing waste; in the kitchen, it’s mise en place. If you miscalculate here, you might end up with a necklace that’s too short or a bracelet that’s a bit too loose for comfort.
- 4. Once your components are prepped, start the assembly process by threading your beads or shaping your wire. This is the part where you get to be creative, but don’t forget to maintain your structural integrity. If you’re making a beaded piece, ensure your crimping is tight and secure. You wouldn’t serve a soufflé that hasn’t been properly stabilized, so don’t take shortcuts with your fastenings and closures.
- 5. After the assembly is complete, you must perform a “quality control” check. Put the piece on, move around a bit, and tug gently on the connections to ensure everything is secure and durable. This is exactly like a final tasting before a dish leaves the kitchen; you want to catch any flaws before they reach the customer. If a clasp feels flimsy, fix it now rather than dealing with a broken necklace later.
- 6. Finally, treat your finished piece with the respect a well-earned profit deserves. Store your new creations in a cool, dry place, perhaps in a lined jewelry box to prevent tarnishing. Just as you’d protect your hard-earned savings from inflation, you want to protect your beautiful new accessories from the elements to ensure they retain their value and shine for years to come.
Curating Your Jewelry Making Kit Essentials for Success
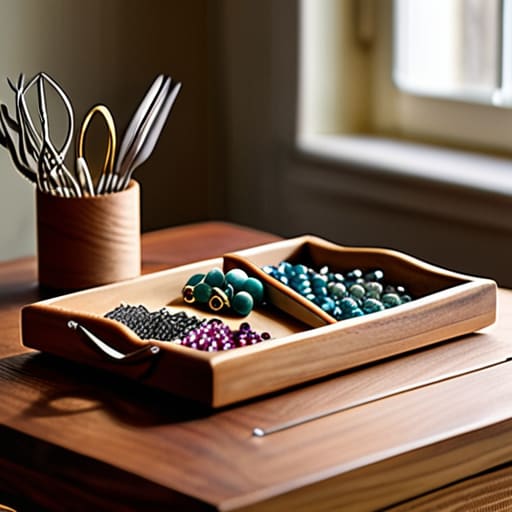
Think of curating your supplies like prepping a mise en place before a dinner rush; if your workstation is cluttered or your ingredients are subpar, the whole service falls apart. When you’re first starting out, it’s tempting to buy every shiny gadget in sight, but I always tell my friends to treat their initial investment like a startup budget. You don’t need a massive inventory to see a return on your creativity. Instead, focus on high-quality jewelry making tools for beginners, such as a reliable pair of needle-nose pliers and precision cutters. Investing in quality early on is much like buying a high-end chef’s knife—it might cost a bit more upfront, but it saves you a massive headache (and a lot of wasted money) in the long run.
Once your foundation is set, you can start layering in your essential bead supplies to add flavor to your designs. I love experimenting with different textures and weights, much like balancing acidity and fat in a reduction sauce. Don’t feel pressured to master every complex method immediately; start with the basics and let your collection grow organically as your skills sharpen.
Investing in Quality Jewelry Making Tools for Beginners
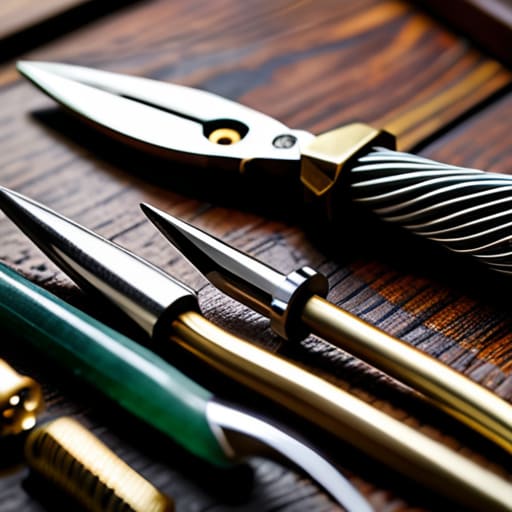
Now, let’s talk about the “capital expenditure” side of this hobby. When I was on Wall Street, I learned that cutting corners on your foundational assets is a recipe for disaster—and the same applies to your craft. It is incredibly tempting to grab the cheapest set of pliers you can find at a big-box store, but think of it like buying low-grade flour for a sourdough starter; you might save a few dollars upfront, but the end result will be crumbly and frustrating. Investing in high-quality jewelry making tools for beginners is essentially like buying a professional-grade chef’s knife. It’s an upfront cost that pays massive dividends in precision and, more importantly, prevents the frustration of stripped wires or broken beads.
I always tell my clients to view their tool kit as a long-term investment rather than a sunk cost. Instead of buying a massive, mediocre kit, I’d rather see you pick out three or four really solid, ergonomic pliers that feel comfortable in your hand. When you’re deep into making beaded necklaces or attempting intricate wire work, your hands are your most valuable assets. If your tools are clunky and cheap, you’ll find yourself abandoning the hobby before you’ve even mastered the basics. Buy better, buy once, and watch your confidence grow.
Scaling Your Sparkle: 5 Pro Tips to Protect Your Profit Margins and Your Style
- Treat your bead supply like a high-yield savings account; don’t let your “inventory” bleed out through disorganized storage or impulse buys on low-quality materials that won’t last.
- Master the art of the “batch cook” by prepping your components—like cutting wire or sorting clasps—in bulk to maximize your creative efficiency and minimize wasted time.
- Always perform a quality control audit on your finished pieces, much like a chef tasting a sauce, to ensure no loose beads or faulty crimps ruin your brand’s reputation.
- Don’t get caught in a “lifestyle creep” of expensive gemstones; start with high-quality semi-precious stones that offer a great return on investment before jumping into the heavy-hitting luxury items.
- Document your “recipe” for every successful design, noting exact measurements and component brands, so you can replicate your bestsellers without the costly trial and error.
The Secret Sauce: My Golden Rules for Jewelry Success
Think of your initial kit like a pantry; don’t go overboard on expensive spices (or high-end gemstones) before you’ve mastered the basic ingredients. Start with high-quality basics to avoid the “cheap ingredient” trap that leads to broken pieces and wasted capital.
Treat your tool investment like a long-term savings account. It might feel a bit heavy on the upfront costs, but buying professional-grade pliers instead of the flimsy drugstore variety is like choosing a high-yield index fund over a risky gamble—it pays off in durability and precision every single time.
Don’t be afraid to experiment with your “flavor profile.” Just as a chef tweaks a recipe to find that perfect balance of sweet and savory, use your jewelry making to find your unique aesthetic. Mistakes aren’t losses; they’re just R&D for your future signature collection.
The ROI of Creativity
“Think of DIY jewelry making like building a diversified portfolio: you start with the essential raw materials, invest time in mastering the technique, and eventually, you’re reaping the high-value rewards of a piece that is uniquely, beautifully yours.”
Madeline Thompson
The Final Polish: Investing in Your Creative Capital
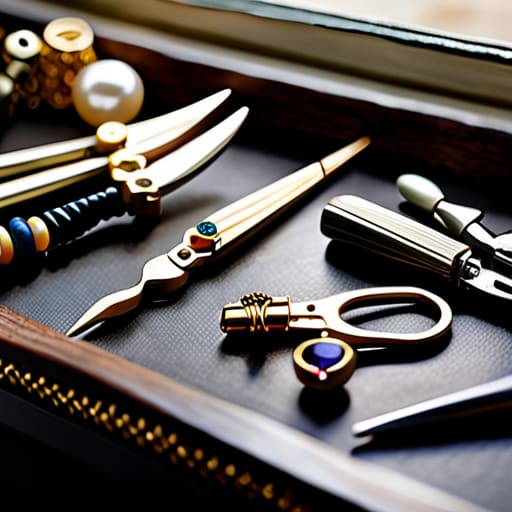
At the end of the day, building your jewelry-making toolkit is a lot like prepping a professional kitchen; you can’t cook a five-star meal if your knives are dull or your pantry is empty. We’ve covered everything from selecting the right raw materials to investing in those high-quality tools that act as your long-term assets. Remember, it’s tempting to go for the cheap, bulk beads to save a few bucks upfront, but investing in quality components early on prevents the “hidden costs” of broken clasps and wasted time later. Just like a well-diversified portfolio, a balanced kit of versatile tools ensures you’re ready to pivot from a simple beaded bracelet to a complex statement necklace without having to reinvest from scratch every single time.
As you step away from the workbench and prepare to wear your first handmade creation, I want you to view this hobby as more than just a pastime. Think of it as a high-yield investment in yourself. Every bead you string and every wire you wrap is building a new skill set and a sense of agency that no market crash can take away. Don’t be afraid to experiment with “fusion” styles or even fail at a complex design—in both finance and culinary arts, the best lessons are often found in the messy middle. So, go ahead, grab your pliers, and start crafting a life that is as beautiful and uniquely tailored as the jewelry you make.
Frequently Asked Questions
How do I figure out which materials are actually worth the splurge and which ones I can find on a budget without sacrificing quality?
Think of your jewelry supplies like a gourmet kitchen: you wouldn’t skimp on high-quality olive oil, but you don’t need truffle salt for every dish. Invest your “capital” in the tools that touch your hands constantly, like precision pliers—they’re your foundational assets. For materials, splurge on high-quality findings like sterling silver clasps to ensure longevity. For the “flavor” elements, like colorful beads or charms, feel free to shop the budget aisles; they provide the visual pop without breaking the bank!
Is there a way to track my spending on supplies so my new hobby doesn't end up eating into my monthly savings goals?
Think of your supply budget like a recipe: if you don’t prep your ingredients beforehand, you’ll end up overspending at the market. I love using a simple “hobby envelope” method—allocate a set monthly amount for beads and wire, just like a food budget. You can track every cent in a dedicated spreadsheet or a quick app. It keeps your creative spark alive without letting your savings account go hungry!
Since I'm just starting out, should I focus on mastering one specific technique first, or is it better to diversify my "inventory" of styles right away?
Think of this like building a menu. If you try to launch a fusion restaurant on day one without mastering your base sauces, you’re going to have a kitchen nightmare on your hands! I’d definitely recommend mastering one technique first. Once you’ve nailed the “mother recipes” of jewelry making, you’ll have the foundational skills to diversify your inventory without blowing your budget or your sanity. Master the basics, then scale up!