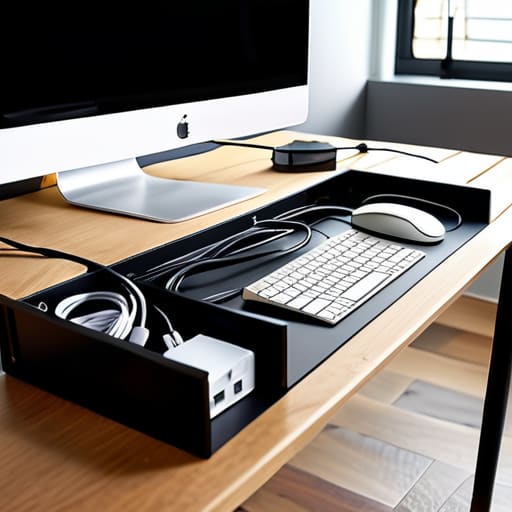
I was staring at the tangled mess behind my desk last Tuesday, a chaotic snarl of black wires that looked less like an office setup and more like a failed attempt at spaghetti carbonara. It’s that same overwhelming feeling I used to get when looking at a cluttered balance sheet—just a bunch of messy, disconnected lines that make it impossible to see the big picture. Most people think that cable management diy requires expensive, high-tech gadgets or a complete office overhaul to work, but honestly? That’s a total myth. Just like you wouldn’t try to cook a gourmet meal in a kitchen where you can’t even find the salt, you can’t expect to be productive when your workspace feels like a disaster zone.
In this guide, I’m stripping away the fluff to give you a practical, budget-friendly blueprint for reclaiming your space. We are going to treat your workspace like a professional kitchen: focusing on mise en place for your tech. I’ll show you exactly how to categorize, bundle, and hide those pesky cords using simple tools you likely already have in your junk drawer. By the end of this, you’ll have a streamlined setup that is as organized and satisfying as a perfectly plated dish.
Table of Contents
- Step-by-Step Instructions
- Mastering Under Desk Cable Management Solutions
- Creative Diy Cable Organizer Ideas for Elegance
- The Secret Sauce: 5 Pro-Tips for a Seamless Cable Setup
- The Secret Sauce to a Streamlined Workspace
- The Secret Ingredient to a Productive Space
- The Final Plating: Bringing Order to the Chaos
- Frequently Asked Questions
Guide Overview
Tools & Supplies
- Scissors or wire cutters for trimming ties
- Label maker or masking tape for identification
- Velcro cable ties (1 pack)
- Cable management sleeves or raceways (1 set)
- Adhesive cable clips (1 pack)
- Power strip/Surge protector (1 unit)
Step-by-Step Instructions
- 1. Before you even touch a single wire, you need to do a “pantry audit” of your tech. Unplug everything and lay your cables out on the floor like you’re prepping ingredients for a complex risotto. You can’t manage what you haven’t properly identified, so group them by function—power cables, data cables, and peripheral cords—so you aren’t guessing which one belongs to your monitor halfway through the process.
- 2. Next, we need to clear the clutter to create a clean workspace, which is exactly like clearing your cutting board before a big meal. Grab some basic supplies: Velcro ties (please, skip the plastic zip ties unless you want to regret it later), cable sleeves, and maybe some adhesive clips. Having your tools ready prevents that mid-project frustration where you’re hunting for tape while your “kitchen” is a mess.
- 3. Now, let’s start the “mise en place” of cable routing. Use those adhesive clips to guide your cables along the edges of your desk or the legs of your furniture. You want to create clean, intentional lines that follow the natural geometry of your setup, rather than letting them drape haphazardly like unorganized spaghetti.
- 4. For the heavy hitters—those thick power strips and bulky adapters—it’s time to invest in a cable management tray or a dedicated box. Think of this as your slow cooker for cables; it’s where all the bulk stays tucked away and out of sight, keeping the visual “noise” to an absolute minimum so you can focus on your actual work.
- 5. Once the big stuff is tucked away, use your Velcro ties to bundle the smaller, individual cords together. This is where the real magic happens, turning a chaotic web into neat, manageable segments. I always recommend leaving a little bit of slack—just enough so you can move your equipment if you need to—because even the best-laid plans need a little bit of flexibility.
- 6. Finally, perform a “taste test” by plugging everything back in and testing your connections. Check for any tension that might be pulling on a port or any cables that have snuck out of their designated paths. A successful setup should feel seamless and effortless, allowing you to dive into your tasks without your eyes constantly drifting down to a tangled mess of wires.
Mastering Under Desk Cable Management Solutions
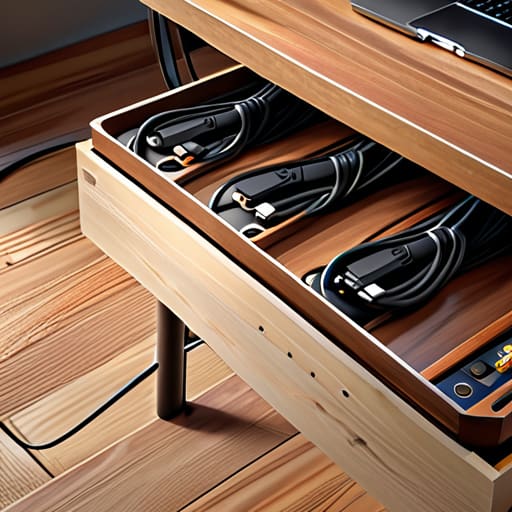
Think of the area under your desk as the “prep station” of your workspace. If your kitchen counter is cluttered with unorganized spice jars and loose utensils, you’re going to struggle to execute a complex recipe. The same logic applies to your office; if you have a chaotic nest of wires beneath your feet, it’s a recipe for mental fatigue and physical tripping hazards. When looking into under desk cable management solutions, I always suggest starting with the “heavy lifting” first. Secure your power strips to the underside of the desk using heavy-duty mounting tape or specialized brackets. This clears the floor entirely, much like clearing your workspace of clutter before you start a delicate reduction sauce.
For those of us working on a budget, you don’t need to drop hundreds on high-end tech accessories. I’m a huge fan of cheap cable organization hacks that yield professional results. One of my absolute favorite methods is using velcro straps for wires rather than those annoying plastic zip ties. Zip ties are like overcooking a steak—once they’re done, there’s no going back without making a mess. Velcro, however, gives you the flexibility to swap out equipment or add a new peripheral without having to cut anything away. It’s all about creating a system that is sustainable and easy to adjust as your career (and your gear) grows.
Creative Diy Cable Organizer Ideas for Elegance

If you’re looking to elevate your workspace from “cluttered kitchen pantry” to “high-end bistro,” it’s time to get a little crafty with some diy cable organizer ideas. Think of this as the garnishing stage of your setup; it’s where you add that final touch of elegance that makes everything look intentional. One of my favorite cheap cable organization hacks involves repurposing common household items. For instance, you can use decorative wooden boxes or even stylish wicker baskets to house your power strips. By tucking the bulky hardware inside a beautiful container, you’re essentially plating your tech—hiding the messy “scraps” so only the beautiful presentation remains.
For those who want a more seamless look, don’t underestimate the power of small, subtle tools. I’m a huge advocate for using velcro straps for wires because, much like a good roux, they provide the perfect amount of flexibility without being too rigid. Unlike those annoying plastic zip ties that feel a bit too permanent, velcro allows you to adjust your “recipe” as you add new gadgets. It’s an easy way of hiding computer wires at home while maintaining a clean, sophisticated aesthetic that won’t break your budget.
The Secret Sauce: 5 Pro-Tips for a Seamless Cable Setup
- Label your “ingredients” immediately. Just like I wouldn’t dream of grabbing salt when I meant sugar, you shouldn’t be guessing which cord belongs to your monitor and which one powers your lamp. Use a simple piece of tape or a label maker to mark both ends of every cable; it’ll save you a massive headache during your next “kitchen” reorganization.
- Don’t let your budget get bloated with expensive gadgets. You don’t need a high-end, designer cable box to get results. Much like finding a great deal on organic produce at a local market, you can achieve professional results using affordable velcro ties, command hooks, or even simple binder clips from your office supply drawer.
- Practice the art of “mise en place” for your wires. Before you start plugging things in, lay everything out on the floor to see the total length and quantity you’re working with. If you try to cook a complex meal without prepping your station, you end up with a mess; if you try to manage cables without a plan, you end up with a tangled knot of debt and frustration.
- Leave yourself some “breathing room” for growth. In finance, we always keep an emergency fund for unexpected expenses, and your cable management should be no different. Don’t pull your cords so tight that they’re under constant tension; leave a little slack so you can move your equipment or add a new device without having to tear the whole system down.
- Perform regular “financial audits” on your workspace. Every few months, take a look at your setup. Have new gadgets crept in? Are some cables becoming brittle or dusty? Keeping your workspace tidy is a continuous process of maintenance, much like keeping a close eye on your monthly spending to ensure you’re still on track for your long-term goals.
The Secret Sauce to a Streamlined Workspace
Think of cable management as your mise en place; by organizing your cords now, you’re preventing a chaotic “kitchen fire” of tangled wires when you’re actually trying to focus on your work.
Don’t overspend on high-end tech organizers right away—just like starting a small food business, it’s better to use clever, low-cost DIY hacks to build your system before investing in the expensive stuff.
Consistency is everything, whether you’re balancing a budget or maintaining a clean desk; a little bit of regular “tidying up” prevents the clutter from becoming an overwhelming debt you can’t pay off.
The Secret Ingredient to a Productive Space
“Think of cable management like prepping your mise en place; if your workspace is a tangled mess of ‘ingredients,’ you’ll never have the mental clarity to cook up something great. Taming those wires isn’t just about tidiness—it’s about investing in a streamlined environment where your focus can actually flourish.”
Madeline Thompson
The Final Plating: Bringing Order to the Chaos

At the end of the day, tackling your cable management is a lot like prepping a complex recipe; it might feel overwhelming when you’re staring at a pile of raw ingredients, but once you have your mise en place set, everything flows. We’ve gone from the heavy lifting of securing those under-desk power strips to the fine-tuning of using creative DIY organizers to add a bit of aesthetic flair to your workspace. By implementing these strategies, you aren’t just hiding messy wires; you are building a foundation for a workspace that actually supports your focus rather than draining your mental energy. Just like a well-balanced sauce, a clean desk setup is all about the perfect harmony of function and form.
I know that sometimes, when you’re juggling a career and a budget, a messy tangle of cords feels like the least important thing on your plate. But I promise you, the clarity you gain from an organized environment is worth every minute of the effort. Think of this as a small, high-yield investment in your daily productivity. When you clear the clutter, you clear the path for bigger ideas and better work. So, grab your zip ties, start organizing, and remember that mastering the small details is exactly how you prepare yourself for the big wins in life and business. You’ve got this!
Frequently Asked Questions
How do I manage all those tangled cords without spending a fortune on expensive professional organizers?
Think of it like making a gourmet sauce from scratch—you don’t need the most expensive pre-made base when you can create something better with basic pantry staples. Instead of dropping a fortune on fancy organizers, raid your junk drawer! Binder clips act like perfect little clamps for your desk edges, and even simple velcro strips or even bread ties can “season” your workspace by keeping cords in line. It’s all about smart prep, not a huge budget.
Is there a way to organize my cables that won't interfere with the airflow needed to keep my computer from overheating?
Think of your computer’s airflow like the ventilation in a busy kitchen—if the heat has nowhere to go, everything starts to sizzle and fail. To keep things cool, avoid “bundling” cables directly against the intake or exhaust vents. Instead, use cable trays or clips to route them along the legs of the desk. It’s like keeping your stovetop clear; by creating a perimeter around the heat source, you ensure your hardware breathes easy.
I have a lot of heavy power strips—what’s the best way to secure them under my desk so they don't become a literal weight on my workspace?
Think of heavy power strips like a heavy cast-iron skillet; if you don’t secure it properly, things are going to get messy fast! To keep that “weight” from dragging your workspace down, I swear by heavy-duty mounting tape or even screw-in mounting brackets. If you’re feeling a bit more DIY, a simple under-desk cable tray acts like a sturdy prep station, cradling those bulky strips so they stay tucked away and out of your hair.
