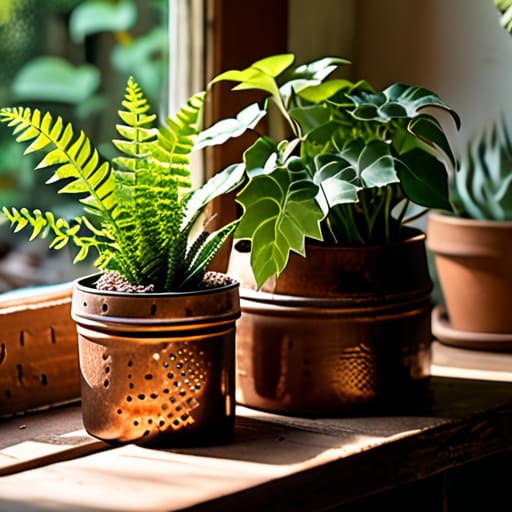
I was standing in the middle of a high-end garden center last weekend, staring at a ceramic pot that cost more than my weekly grocery budget, and I had a total epiphany. We’ve been conditioned to believe that a lush, designer aesthetic requires a massive capital investment, but that’s just bad math. Honestly, spending a fortune on pre-made containers is like paying premium prices for a basic loaf of bread when you could be crafting a sourdough masterpiece at home. Creating your own diy planters isn’t just about saving a few bucks; it’s about the high-yield return of customizing your space without draining your savings account.
In this guide, I’m stripping away the fluff and giving you the raw, practical ingredients for success. We aren’t just talking about throwing dirt in a tin can; I’m going to show you how to source materials that are both budget-friendly and durable, ensuring your greenery thrives long-term. From selecting the right “base ingredients” to the finishing touches that make them look high-end, you’ll learn how to build beautiful diy planters that offer a massive aesthetic ROI. Let’s get cooking!
Table of Contents
- Step-by-Step Instructions
- Upcycled Container Gardening Investing in Your Aesthetic
- Repurposed Household Items for Plants Budget Friendly Garden Decor
- The Secret Sauce: 5 Pro-Tips for High-Yield DIY Planters
- The Recipe for a Thriving Garden and a Healthy Wallet
- The ROI of a Little Creativity
- The Final Course: Planting Seeds for the Future
- Frequently Asked Questions
Guide Overview
Tools & Supplies
- Drill and drill bits for making drainage holes
- Measuring tape for accurate sizing
- Sandpaper to smooth rough edges
- Upcycled containers (tin cans, wooden crates, or plastic tubs) 2-4 units
- Potting soil 1 bag
- Small stones or gravel 1 small bag
- Decorative paint or twine 1 set
Step-by-Step Instructions
- 1. First, we need to audit our pantry—or in this case, our garage or recycling bin. Just like you wouldn’t start a high-end reduction without checking your stock, you shouldn’t start a DIY project without gathering your raw materials. Look for old wooden crates, large tin cans, or even sturdy plastic containers that were destined for the landfill. Think of these as your low-cost assets that are about to see a massive return on investment.
- 2. Next, let’s talk about preparation and cleaning. If you’re repurposing tin cans, you’ll need to scrub them thoroughly to remove any food residue, much like you’d sanitize a workstation before a busy lunch rush. If you’re working with wood, give it a quick sand to ensure there are no splinters. A clean foundation is the secret to ensuring your project doesn’t “spoil” halfway through the process.
- 3. Now, it’s time for the “drainage drill.” This is the most critical step in your budget allocation; if you don’t allow for drainage, your plants (your investments!) will literally drown. Using a drill or a hammer and nail, create several small holes in the bottom of your container. You want to ensure that excess water can flow out freely, preventing root rot—which is essentially the financial equivalent of a sudden market crash.
- 4. Once your vessels are ready, let’s add some aesthetic value through customization. This is where you get to play with your “flavor profile.” You can use leftover spray paint to give a mismatched collection of cans a cohesive, high-end look, or wrap wooden crates in twine for a rustic, farmhouse vibe. Remember, a little bit of visual branding can make even the cheapest materials look like they came from a boutique garden center.
- 5. It’s time to layer in your base. Before you add the expensive stuff, grab some small pebbles or even broken pieces of old terracotta pots to place at the very bottom of your planter. This creates a buffer zone that helps with drainage and prevents your soil from washing out of the holes you drilled earlier. It’s all about managing your resources so that the most important part—the soil—stays exactly where it belongs.
- 6. Now, we move on to the “main course”: the potting soil. Don’t skimp here by using dirt from your backyard; instead, invest in a high-quality, nutrient-rich potting mix. Think of this as the premium ingredient in a recipe. While it might cost a few extra dollars upfront, the long-term growth and health of your plants will far outweigh the initial expense.
- 7. Finally, it’s time for the grand unveiling—planting your greenery! Carefully place your seedlings into the soil, ensuring they aren’t too crowded. You want to give each plant enough room to grow and thrive, just like you’d give yourself breathing room in a demanding career. Give them a gentle watering to settle the soil, and just like that, you’ve successfully diversified your home decor without breaking the bank.
Upcycled Container Gardening Investing in Your Aesthetic
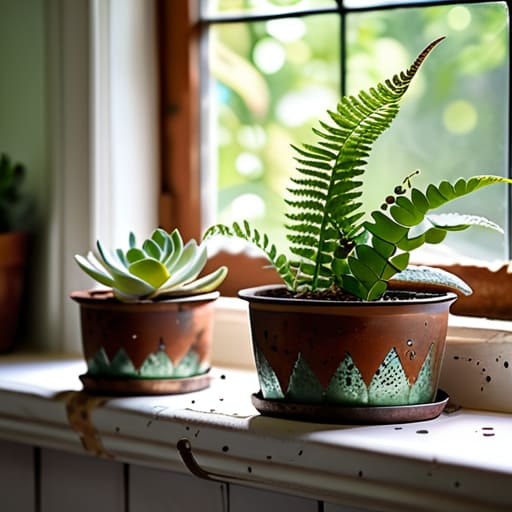
Think of upcycled container gardening like a smart kitchen hack: you’re taking something that might have gone to waste and turning it into a high-value asset. Instead of heading straight to the garden center and dropping a fortune on designer pots, I love looking at my pantry or garage through a new lens. An old tin can, a vintage colander, or even a chipped ceramic mug can become a stunning home for your greenery. It’s all about maximizing your ROI—the return on investment here isn’t just about the pennies saved, but the unique, soulful character you add to your space.
When you’re hunting for repurposed household items for plants, just remember that even the most stylish vessel needs to function well. You wouldn’t serve a delicate reduction in a pot with a hole in the bottom, right? The same logic applies here. Always ensure you’re drilling proper drainage holes for homemade pots to prevent root rot. Whether you’re crafting small indoor succulent pot crafts for your desk or larger pieces for the patio, treating your garden like a well-managed budget ensures everything stays healthy and flourishing for the long haul.
Repurposed Household Items for Plants Budget Friendly Garden Decor
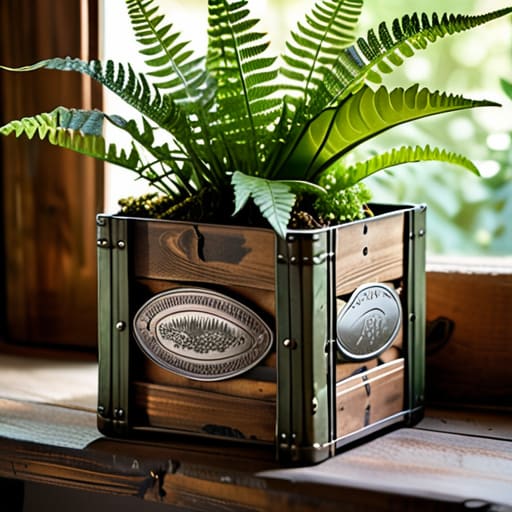
Now, if you’re looking to scale your garden without scaling your expenses, let’s talk about the art of the “scavenge.” Think of this like reducing a sauce—you’re taking something basic and concentrating it into something rich and valuable. Using repurposed household items for plants is essentially the ultimate hack for your bottom line. Instead of heading to a big-box retailer to spend a fortune on ceramic pots, look in your pantry or recycling bin. An old tin coffee can, a vintage tea tin, or even a sturdy wooden crate can become a stunning home for your greenery. It’s all about seeing the hidden equity in what you already own.
Just a word of caution from my time in the kitchen: you can’t skip the prep work. Just like you wouldn’t serve a dish without seasoning, you shouldn’t plant without considering the foundation. When you’re working with non-traditional containers, drilling drainage holes for homemade pots is absolutely non-negotiable. Without them, you’re essentially creating a “sunk cost” where your plants’ roots drown in standing water. A little bit of manual labor upfront ensures your botanical investments actually yield a high return in lush, healthy growth.
The Secret Sauce: 5 Pro-Tips for High-Yield DIY Planters
- Don’t skimp on the drainage—think of it like managing your cash flow. If you don’t have an exit strategy for excess water, you’re going to end up with “root rot,” which is basically the financial equivalent of a bad debt spiral. Always poke those holes!
- Audit your materials before you start. Just because a vintage tin looks cute doesn’t mean it’s cost-effective if you have to spend a fortune on specialized sealant to keep it from rusting through in a week. Aim for high ROI on your aesthetics.
- Scale your projects like you would a business plan. Start with small, manageable containers to test your “market” (your thumb!) before investing your entire weekend and budget into a massive, multi-tiered garden installation.
- Layer your “investments” for better efficiency. When using deep containers, use a layer of pebbles or crushed recycled materials at the bottom. It’s a smart way to stretch your premium potting soil—think of it as diversifying your assets to maximize space.
- Keep a “maintenance ledger” for your plants. Just like tracking your monthly expenses, knowing when you last fertilized or watered helps you spot trends early. It’s much easier to fix a small nutrient deficiency than it is to recover from a total garden bankruptcy!
The Recipe for a Thriving Garden and a Healthy Wallet
Think of your DIY planters as high-yield investments; by choosing upcycled materials, you’re reducing your upfront “capital expenditure” and redirecting those funds into higher-quality soil and seeds that offer a better long-term return.
Just like a complex reduction sauce requires patience and the right heat, successful container gardening is about the slow build—don’t rush the process, and make sure you’re auditing your plant’s needs regularly to avoid “wasting” your resources.
Diversify your garden aesthetic just like you would a stock portfolio; mixing repurposed household items with more intentional DIY pieces creates a balanced, visually rich landscape that doesn’t break the bank.
The ROI of a Little Creativity
“Think of DIY planters as the ultimate high-yield investment: you’re taking low-cost, repurposed materials and, with just a little seasoning of creativity, turning them into high-value assets that beautify your space and grow your green thumb.”
Madeline Thompson
The Final Course: Planting Seeds for the Future
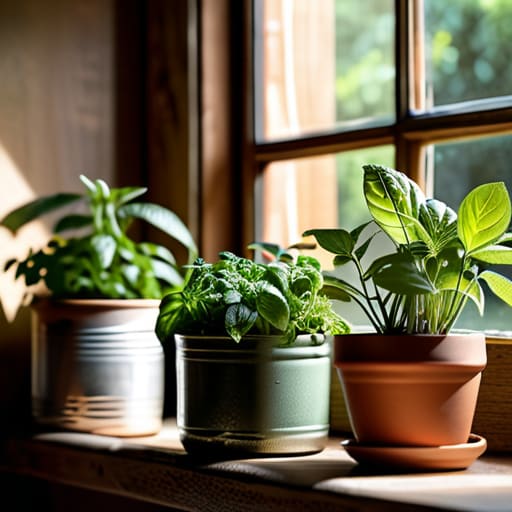
As we wrap up our little kitchen session of gardening, I hope you see that building your own planter collection isn’t just about decor—it’s about smart resource management. We’ve covered everything from elevating your aesthetic with upcycled containers to finding those hidden gems in your household items that serve as perfect, budget-friendly vessels. Just like managing a high-stakes portfolio or balancing a complex recipe, the secret to success lies in how you utilize what you already have. By choosing to DIY, you aren’t just saving a few dollars; you are actively minimizing waste and maximizing your creative ROI, ensuring your home looks high-end without the high-end price tag.
At the end of the day, whether you are balancing a spreadsheet, perfecting a reduction sauce, or potting your very first herb, it all comes down to the intention you put into the process. Don’t let the fear of a little dirt under your fingernails stop you from starting this journey. Think of every DIY planter as a small, manageable investment in your personal sanctuary. You have the tools, the vision, and now the blueprint to make your space flourish. So, go ahead—grab those repurposed tins, get your hands messy, and start growing something beautiful. I promise, the sense of accomplishment is just as sweet as a perfectly executed dessert!
Frequently Asked Questions
If I'm using upcycled containers like old tin cans or wooden crates, how do I make sure they don't rot or rust and ruin my investment?
Think of this like protecting your kitchen investments—you wouldn’t leave a high-end copper pan sitting in a puddle, right? To prevent your upcycled containers from “going bad,” you need to prep them. For tin cans, a quick coat of outdoor sealant or spray paint acts like a protective glaze against rust. For wooden crates, use a non-toxic wood sealer. Most importantly, always add drainage holes; without them, you’re just inviting a soggy, expensive mess!
How do I balance my desire for a high-end aesthetic with the need to keep my DIY planter costs low enough to actually save money?
Think of this like the “high-low” approach in fine dining—pairing a budget-friendly staple with one premium ingredient. To keep costs low without sacrificing style, focus your investment on the “seasoning.” Spend a little more on high-quality, uniform soil or designer hardware, but use upcycled containers for the bulk of your garden. By maintaining a consistent color palette or texture across your DIY pots, you create a cohesive, luxury look on a grassroots budget.
Are there specific types of plants that are better suited for DIY planters, or can I treat my garden like a diverse menu and plant whatever I want?
Think of your DIY planters like a menu: you wouldn’t serve a delicate soufflé in a heavy cast-iron skillet, right? While you can plant anything, some species demand better “plating.” For smaller, shallower containers, stick to succulents or herbs—they’re the light appetizers of the garden. For deeper, sturdier DIY builds, you can go big with tomatoes or peppers. Match your plant’s “nutritional needs” to the container size to ensure your garden investment truly yields a profit!
