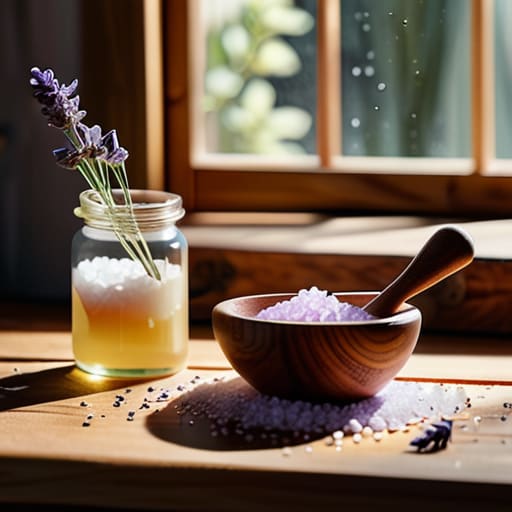
I stood in my kitchen last Tuesday, staring at a batch of what was supposed to be lavender-scented bliss, but instead looked like a disastrously curdled Hollandaise sauce. Most people think that learning how to make soap is some mystical, chemistry-heavy ordeal reserved for people with lab coats and PhDs, but let me tell you: that is a total myth. Much like managing a volatile stock portfolio or trying to balance a complex reduction in a busy kitchen, soapmaking is really just about mastering your ingredients and understanding the ratios that matter. If you can follow a recipe for a gourmet chili, you can absolutely master the art of the lather.
In this guide, I’m stripping away the intimidating jargon to give you a straight-shooting, no-nonsense roadmap. I’ll walk you through the essential equipment, the safety protocols that are non-negotiable, and the precise steps for a successful first batch. We aren’t going to chase expensive, trendy additives that bloat your budget; instead, we’re going to focus on high-quality basics that yield professional results. By the time we’re done, you’ll have the confidence to turn raw oils into something truly luxurious and rewarding.
Table of Contents
- Step-by-Step Instructions
- Mastering the Lye and Oil Saponification Process
- Selecting Premium Natural Soap Ingredients for Perfection
- The Secret Sauce: 5 Pro-Tips for a High-Yield Soap Batch
- The Secret Sauce to Soapmaking Success
- The ROI of a Perfect Lather
- The Final Polish: From Raw Ingredients to Your Signature Bar
- Frequently Asked Questions
Guide Overview
Tools & Supplies
- Digital scale (for precise measurements)
- Stick blender (to emulsify oils and lye)
- Stainless steel pot (to melt oils)
- Heat-resistant glass beaker (to mix lye solution)
- Silicone molds (to shape the soap)
- Infrared thermometer (to monitor temperatures)
- Coconut oil (approx. 500g)
- Olive oil (approx. 500g)
- Sodium hydroxide/Lye (approx. 150g)
- Distilled water (approx. 350ml)
- Essential oils (30ml for scent)
Step-by-Step Instructions
- 1. First things first, we need to gather our “capital”—and in this case, I’m talking about your raw ingredients and equipment. Think of this like setting up your initial investment portfolio; if you don’t have the right assets, the whole venture can go south. You’ll need high-quality oils (like olive or coconut), lye, distilled water, and your safety gear. Please, for the love of all things gourmet, don’t skip the safety goggles and gloves. Dealing with lye is a bit like high-stakes trading; one wrong move and things can get pretty volatile very quickly.
- 2. Once your workspace is as organized as a clean professional kitchen, it’s time to prep your lye solution. Carefully pour your lye into the distilled water—never the other way around! I always tell my clients that order of operations is everything in both finance and chemistry. Stir the mixture gently until it’s clear, then set it aside to cool. It’s going to get quite hot, much like the market during a frenzy, so give it some breathing room to reach a safe temperature.
- 3. Now, let’s get to work on our base oils. Melt your solid fats (like shea butter or coconut oil) and combine them with your liquid oils in a large stainless steel pot. You want these oils to be at a similar temperature to your lye solution. If the temperature gap is too wide, it’s like trying to marry two incompatible assets; the reaction just won’t be smooth. Aim for that sweet spot where both liquids are warm but manageable.
- 4. This is where the real magic—and the real “merger”—happens. Slowly pour your lye solution into your oil mixture. Grab your stick blender and start pulsing it. You’re looking for “trace,” which is that moment when the mixture reaches a consistency similar to pudding. It’s the point of no return, much like committing to a long-term fund. Once you see those ribbons of soap forming on the surface, you know you’ve successfully emulsified your ingredients.
- 5. If you’re feeling a bit adventurous and want to add some “flair” to your brand, now is the time to stir in your essential oils or natural colorants. Think of this as the seasoning phase of your recipe. A little lavender for relaxation or some citrus for energy can completely change the “value proposition” of your soap. Just remember to stir thoroughly so the scent is evenly distributed throughout the entire batch.
- 6. Pour your liquid gold into your soap molds, tapping them firmly on the counter to release any trapped air bubbles. This ensures your final product has a polished, professional finish. Cover the molds and let them sit in a cool, dry place for 24 to 48 hours. This is the “waiting period” where the saponification process does the heavy lifting, much like compound interest working quietly in the background to build your wealth.
- 7. Finally, after the soap has hardened, pop it out of the molds and slice it into bars. But don’t go using them in the shower just yet! You need to let your bars “cure” on a drying rack for about four to six weeks. This step is non-negotiable; it allows the water to evaporate, resulting in a harder, longer-lasting bar. Patience is a virtue, whether you’re waiting for a market correction or waiting for the perfect lather.
Mastering the Lye and Oil Saponification Process
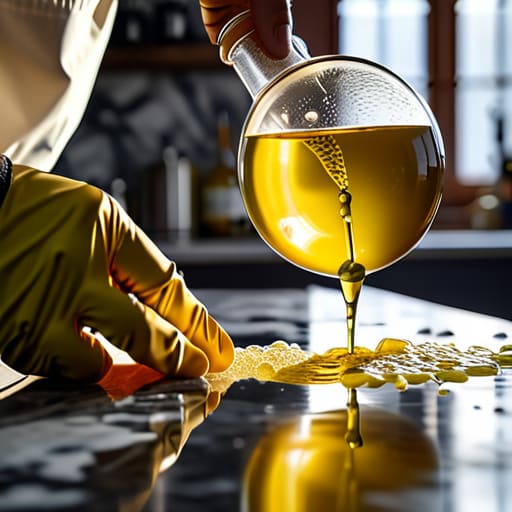
Now, let’s talk about the real magic—the moment where chemistry meets culinary precision. Think of the lye and oil saponification process like reducing a complex balsamic glaze; you have to respect the timing and the temperature, or the whole thing can go sideways. Just as I wouldn’t dream of trading stocks without checking the market volatility, you shouldn’t approach lye without total respect for its potency. This is where your soap making safety precautions become your most important investment. Always wear your goggles and gloves; in this kitchen, a mistake isn’t just a burnt sauce, it’s a literal chemical burn.
Once you’ve mastered the safety aspect, it’s time to focus on the “flavor profile” of your bars. While the melt and pour soap method is great for a quick weekend project, true mastery comes from controlling your own fats and oils. I love treating my ingredient list like a diversified portfolio—balancing hard oils like coconut for cleansing with soft oils like olive for moisture. If you want to elevate the sensory experience, adding high-quality essential oils for soap is the equivalent of adding a pinch of saffron to a risotto; it transforms a simple staple into something truly luxurious.
Selecting Premium Natural Soap Ingredients for Perfection
Think of selecting your ingredients like sourcing the finest organic produce for a signature reduction; the quality of your inputs directly dictates the ROI of your final product. When you’re hunting for the best natural soap ingredients, you aren’t just buying fats and oils; you’re investing in the skin-feel and longevity of your creation. I always tell my team that using a cheap, filler-heavy oil is like cutting corners with low-grade butter in a gourmet pastry—it might look okay at first, but the texture will ultimately let you down.
To really elevate your craft, I recommend experimenting with high-quality essential oils for soap to create a sensory experience that feels truly luxurious. While some people opt for the quicker melt and pour soap method to save time, if you’re aiming for that professional, artisanal edge, sticking to premium plant-based oils is non-negotiable. Just remember to treat these precious components with respect; much like managing a high-stakes investment portfolio, you want to ensure every single ingredient is working hard to provide the maximum benefit to your skin.
The Secret Sauce: 5 Pro-Tips for a High-Yield Soap Batch
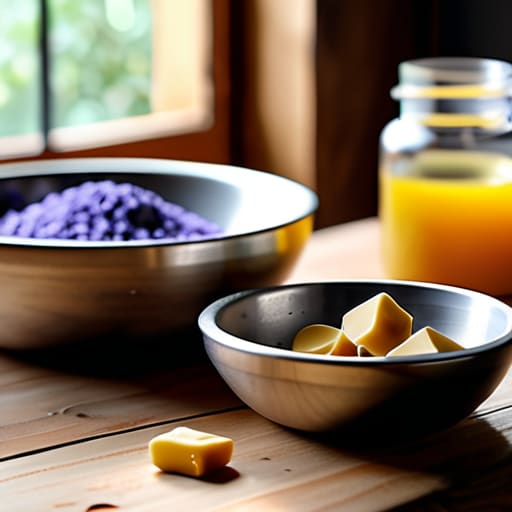
- Mind your temperatures like a strict budget; if your lye solution and oils are too far apart, your emulsion will crash faster than a tech stock in a bear market.
- Treat your scents like high-end spices—always do a small test batch first because some essential oils can “flash off” or change scent entirely during the saponification process.
- Don’t skimp on the quality of your molds; using cheap, flimsy containers is like investing in low-interest savings accounts—you might save a buck now, but you’ll lose the structural integrity of your final product later.
- Embrace the “curing” phase with patience, because much like a long-term retirement fund, the best results come to those who let things sit and mature undisturbed.
- Keep a meticulous “recipe ledger” of every oil percentage and additive you use, because you can’t scale a successful business—or a perfect soap recipe—if you don’t know exactly what went into the mix.
The Secret Sauce to Soapmaking Success
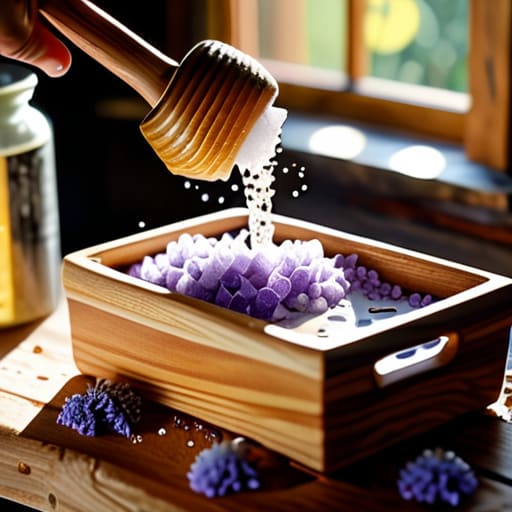
Treat your ingredients like a high-stakes investment portfolio; don’t skimp on the quality of your oils, because the initial cost is nothing compared to the long-term dividends of a premium, skin-loving bar.
Precision is your most valuable kitchen tool, so approach your lye measurements with the same meticulous attention to detail I used when balancing spreadsheets on Wall Street—one small error can ruin the whole batch.
Think of soapmaking as a long-term savings plan rather than a quick flip; you have to give your bars the necessary curing time to truly mature and reach their full, profitable potential.
The ROI of a Perfect Lather
“Think of soapmaking like managing a high-stakes portfolio: if you don’t respect the volatile chemistry of your raw ingredients, you’ll end up with a total deficit. But when you balance your oils and lye with the precision of a seasoned analyst, you aren’t just making a product—you’re compounding quality into every single bar.”
Madeline Thompson
The Final Polish: From Raw Ingredients to Your Signature Bar
At the end of the day, crafting the perfect bar of soap is a lot like managing a high-stakes investment portfolio or perfecting a complex reduction sauce; it requires patience, precision, and the right ingredients. We’ve walked through the technicalities of lye safety, the chemistry of saponification, and the importance of sourcing premium oils that won’t break the bank or your skin. Remember, just as you wouldn’t rush a slow-cooked brisket or skip a line item in your budget, you can’t rush the curing process. Taking that extra time to let your soap mature ensures a harder, longer-lasting bar that provides the ultimate return on your effort.
As you step away from the mixing bowls and scales, I want you to view this not just as a DIY project, but as a lesson in intentional living. Whether you are scaling up to sell these at a local market or simply treating yourself to a luxury experience at home, you are taking control of what goes into your life. There is a profound sense of empowerment that comes from knowing exactly what makes up your daily essentials. So, go ahead and experiment with those fusion scents or unexpected botanicals. Much like a successful career or a well-balanced budget, the most rewarding results come when you trust your instincts and embrace the process.
Frequently Asked Questions
Is it possible to scale up my soap production if I decide to turn this hobby into a side hustle, or will the costs of ingredients eat into my margins?
Scaling up is exactly like moving from a home kitchen to a commercial one; you have to watch your food costs like a hawk! You can definitely scale, but the secret is in the bulk buy. Instead of buying single bottles of essential oils, you’ll want to source wholesale. It’s all about lowering your cost-per-unit to protect those margins. Think of it as optimizing your recipe for profit—once your overhead drops, your delicious returns grow!
How do I balance the "budget" of my recipe—like choosing between expensive essential oils and cheaper fragrance oils—without sacrificing the quality of the final bar?
Think of your recipe budget like a restaurant menu: you don’t need truffle oil in every dish to be high-end. I always recommend a “hybrid” approach. Invest your capital in high-quality base oils—the foundation of your “business”—and then use premium essential oils for your star products. For your everyday “volume” bars, a high-quality, skin-safe fragrance oil can keep your margins healthy without compromising the customer experience. It’s all about strategic allocation!
If I mess up a batch and the saponification doesn't go as planned, is it a total loss, or can I "rework" the ingredients like a chef fixing a broken sauce?
Don’t panic! Just like a broken hollandaise, a failed soap batch isn’t necessarily a write-off. If your oils haven’t fully saponified, you can perform a “rebatch.” Think of it as a culinary redo: melt your mixture down in a double boiler, add a splash of liquid, and stir it back into submission. It might change the texture, but you’re essentially salvaging your investment rather than letting it go to waste.
