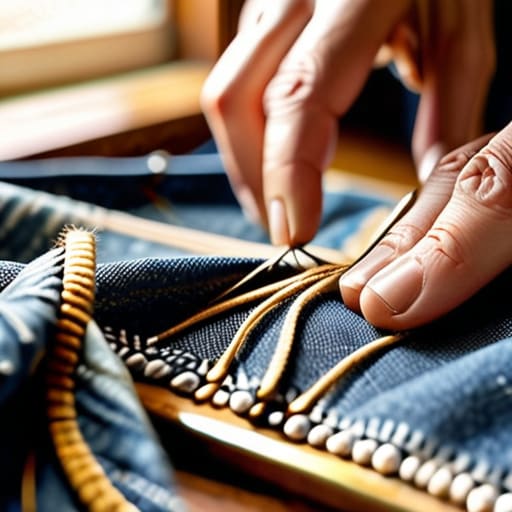
I was staring at a tiny, jagged tear in my favorite vintage linen blazer—the kind that makes you feel like a million bucks—and my first instinct wasn’t to grab a needle, but to reach for my credit card to buy a replacement. We’ve been conditioned to think that a loose thread or a small rip means a garment is officially dead on arrival, but that is a total financial drain. Learning how to mend clothes isn’t just about being “crafty”; it’s actually a high-yield investment in your personal wardrobe. Think of it like fixing a broken sauce in the kitchen—instead of tossing the whole pan, you just need the right technique to bring it back to perfection.
In this guide, I’m stripping away the intimidation and giving you the exact, no-nonsense toolkit you need to rescue your wardrobe. We aren’t going to get bogged down in complex tailoring that requires a master’s degree; instead, I’ll show you how to master the essential repairs that will save you hundreds of dollars over time. From basic stitching to invisible mending, you’re about to learn how to turn “damaged goods” into your most reliable assets.
Table of Contents
- Step-by-Step Instructions
- Gathering Your Fabric Repair Tools and Sewing Kit Essentials
- Mastering Visible Mending Techniques for a Flavorful Wardrobe
- Five Pro-Tips for a High-Yield, Well-Maintained Wardrobe
- The Secret Sauce to a Sustainable Wardrobe
- ## The ROI of a Good Stitch
- Serving Up a Sustainable Style
- Frequently Asked Questions
Guide Overview
Tools & Supplies
- Hand sewing needles of various sizes for different fabric weights
- Fabric scissors for clean, precise cuts
- Seam ripper to carefully remove old or faulty stitching
- All-purpose polyester or cotton thread in various colors
- Assorted fabric patches for covering holes
- Sewing pins to hold fabric in place while mending
Step-by-Step Instructions
- 1. First things first, you need to gather your mise en place. Just like you wouldn’t start a complex risotto without having your onions diced and your stock simmering, you shouldn’t dive into a repair without the right tools. Grab a sturdy needle, a few spools of high-quality thread that match your fabric, and a pair of sharp fabric scissors. Think of these as your essential kitchen implements; if you use a dull knife on a tomato, you’re going to have a mess, and the same goes for using cheap, fraying thread on a favorite silk blouse.
- 2. Next, let’s inspect the damage to determine our “recipe.” Turn your garment inside out to see exactly where the structural integrity has failed. Is it a simple hole in a cotton tee, or a more complex tear in a seam? Identifying the nature of the wound is crucial because you wouldn’t use a heavy-duty roux to thicken a delicate consommé. If it’s a small hole, a simple darn will do, but if a seam has burst, you’re looking at a more structural reconstruction.
- 3. Once you’ve assessed the situation, it’s time to prep the fabric. Trim away any loose, fraying threads that are hanging around the area like unwanted garnish. You want a clean workspace before you begin the actual stitching. If you leave those messy bits in, they’ll just get tangled in your thread and make your repair look amateurish rather than artisanal.
- 4. Now, let’s get to the actual cooking—or in this case, the stitching. If you’re fixing a hole, start by making a tiny knot at the end of your thread to act as an anchor. Begin your stitches around the perimeter of the hole, pulling the thread through with enough tension to secure the edges, but not so much that you pucker the fabric. Think of it like seasoning a sauce: you want to build the flavor gradually, and overdoing it can ruin the whole dish.
- 5. For those pesky holes in knitwear or sweaters, I highly recommend the “darning” technique. This is essentially weaving a new patch of fabric using your thread. You’ll create a series of vertical threads across the hole, and then weave your needle horizontally through them. It’s a bit like layering flavors in a complex curry; it takes a little more time and patience, but the result is a seamless, integrated repair that holds up over time.
- 6. As you approach the end of your repair, don’t just cut the thread and call it a day! You need to secure your work with a few “backstitches” to lock everything in place. This is your safety net, ensuring that your hard work doesn’t unravel the next time you hit the streets. Once you’re sure it’s secure, tie a neat knot on the underside of the fabric and snip the excess thread.
- 7. Finally, give your garment a quick “taste test” by checking the tension and the look of the mend. Put it on and move around a little to see if the repair holds up under pressure. Just like a chef checking the seasoning before a dish leaves the kitchen, you want to be absolutely confident that your work is up to standard before you consider the job done.
Gathering Your Fabric Repair Tools and Sewing Kit Essentials
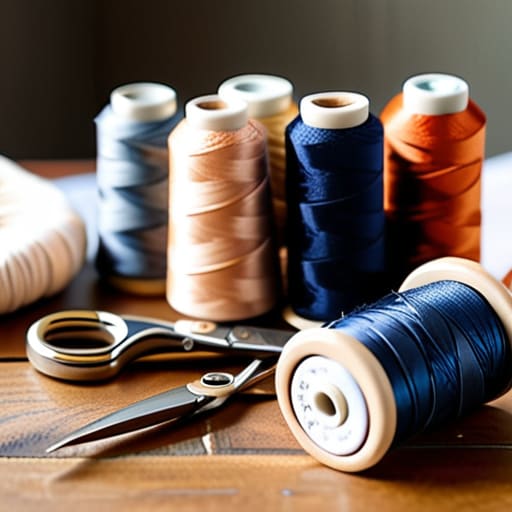
Before you dive into the actual stitching, you need to prep your workstation, much like a chef mis-en-place before a dinner rush. You wouldn’t dream of starting a complex reduction without your high-quality stock and aromatics, right? The same applies here. To avoid the frustration of a dull needle or a flimsy thread snapping mid-stitch, you need to invest in quality fabric repair tools. I always recommend keeping a dedicated small tin for your sewing kit essentials—think sharp embroidery scissors, a variety of needle sizes, and a decent assortment of thread colors. Having everything organized and within reach prevents that frantic “where did I put the seam ripper?” moment that can derail your momentum.
Think of your toolkit as your pantry; the better the ingredients, the better the result. If you’re planning on tackling more artistic projects, like embroidery for clothing repair, you might want to branch out beyond the basics. Adding a few colorful flosses or specialized needles can turn a simple fix into a beautiful design feature. Just like diversifying your investment portfolio, having a variety of tools ensures you’re prepared for any “market volatility” your wardrobe throws at you!
Mastering Visible Mending Techniques for a Flavorful Wardrobe
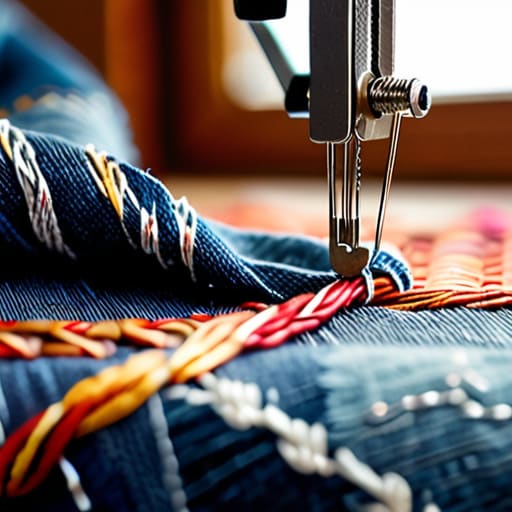
Sometimes, trying to hide a tear is like trying to mask a lack of seasoning with extra salt—it just doesn’t quite work, and everyone can tell something is off. Instead of playing defense, I love leaning into visible mending techniques to turn a wardrobe mishap into a design feature. Think of it as adding a bold, unexpected garnish to a classic dish. Whether you’re using colorful embroidery for clothing repair or applying a contrasting patch to a worn spot, you aren’t just fixing a garment; you’re giving it a second act and a unique personality that no fast-fashion piece could ever replicate.
If you’re tackling something a bit more structural, like patching denim holes, don’t be afraid to get creative with textures. You can use Sashiko stitching to create beautiful geometric patterns that actually reinforce the fabric, much like how a good roux provides the essential structure for a heavy sauce. It’s all about intentionality and flair. By embracing these “scars” in your clothing, you’re essentially investing in the longevity of your pieces, ensuring your personal style remains as rich and layered as a well-simmered reduction.
Five Pro-Tips for a High-Yield, Well-Maintained Wardrobe
- Don’t let a small tear become a financial leak; think of a loose thread like a tiny crack in a saucepan—if you don’t patch it up immediately, you’re going to lose a lot more than just a little bit of value down the line.
- Treat your sewing kit like a well-stocked spice rack; you wouldn’t try to whip up a complex fusion dish without the right seasonings, so make sure you have the specific needle sizes and thread colors on hand before you start “cooking.”
- Practice the art of “slow mending” to avoid burnout; just like you wouldn’t rush a low-and-slow braise, taking your time with intricate embroidery or darning ensures a much higher quality finish and prevents you from making costly mistakes.
- View mending as a way to increase your ROI (Return on Investment); instead of spending your hard-earned cash on a brand-new replacement, investing thirty minutes into a repair keeps your favorite pieces in rotation and keeps your savings account growing.
- Always test your “ingredients” first by doing a small, inconspicuous stitch on a scrap of similar fabric; you wouldn’t dump a whole cup of salt into a soup without tasting it first, so make sure your thread tension and color match are perfect before committing to the main garment.
The Secret Sauce to a Sustainable Wardrobe
Think of mending as a high-yield investment; by spending a little time on a quick stitch today, you’re preventing the “bankruptcy” of your favorite garments and stretching your clothing budget much further.
Don’t fear the visible mend—just like a bold fusion spice, a decorative stitch can turn a wardrobe flaw into a unique, signature feature that adds character and value to your style.
Treat your sewing kit like a well-stocked pantry; having the right tools on hand ensures that when a “kitchen emergency” (or a popped seam) happens, you can fix it immediately instead of letting it go to waste.
## The ROI of a Good Stitch
“Think of mending a loose thread like perfecting a complex reduction; it requires a little more time and attention upfront, but the way it preserves the value of your wardrobe—and your bank account—is just as rewarding as a perfectly balanced sauce.”
Madeline Thompson
Serving Up a Sustainable Style
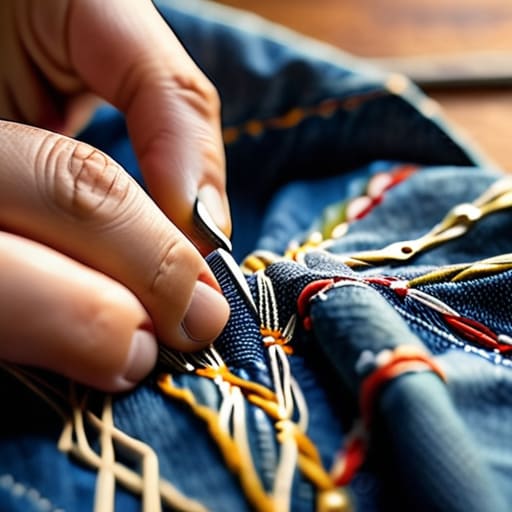
At the end of the day, mending your clothes is about much more than just fixing a stray thread or a pesky tear; it’s about changing your relationship with what you own. We’ve walked through everything from prepping your essential toolkit to the creative artistry of visible mending, proving that a little bit of patience can go a long way. Just like managing a budget or perfecting a complex reduction sauce, these skills require a bit of intentionality and practice. By choosing to repair rather than replace, you are effectively reducing waste and ensuring that your wardrobe remains a high-value asset rather than a series of quick, disposable expenses.
I want you to look at every loose seam or small hole as an investment opportunity for your personal style. Instead of seeing a flaw, see a chance to add character and a unique “flavor” to your favorite pieces that no store-bought garment could ever replicate. Whether you’re saving money for a future dream or simply trying to live more sustainably, every stitch you make is a step toward a more mindful and rewarding lifestyle. So, grab your needle, find your rhythm, and remember that mastering the small details is exactly how you build a life—and a wardrobe—that truly lasts.
Frequently Asked Questions
If I mess up a stitch, is it like a burnt sauce where the whole thing is ruined, or can I actually salvage the fabric?
Oh, please don’t panic! If you mess up a stitch, it is absolutely not like a burnt sauce. Once a sauce burns, that’s a lost cause, but a stray thread? That’s just a minor seasoning error. You can always unpick it with a seam ripper and start that section over. Think of it as adjusting the salt—it’s just a quick course correction to ensure the final result is perfectly balanced and seamless.
How do I know if a piece of clothing is worth the "investment" of repairing, or if it’s time to just cut my losses and let it go?
Think of this like deciding whether to save a sauce or toss the whole pot. Before you stitch, run a quick cost-benefit analysis. Ask yourself: Is the fabric high-quality enough to justify the “labor cost” of your time? If it’s a vintage silk blouse or a sturdy denim staple, invest the effort. But if it’s a fast-fashion piece with thinning fabric, the ROI just isn’t there. Don’t waste precious resources on a lost cause!
Can I use mending to fix delicate fabrics like silk or linen without making them look like a patchwork quilt gone wrong?
Absolutely! Think of delicate fabrics like silk or linen as high-end, expensive ingredients—you wouldn’t toss heavy cream into a delicate consommé, right? For these, skip the chunky visible mending and opt for “invisible” repairs. Use fine silk thread and tiny, precise stitches to mimic the fabric’s weave. It’s all about subtlety and portion control; a little precision goes a long way in preserving that luxury feel without the patchwork chaos.
