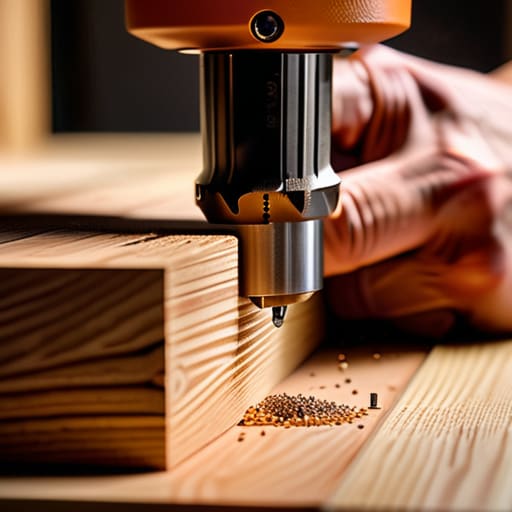
I was standing in my tiny kitchen last summer, staring at a pile of flat-packed shelving and a heavy, intimidating power tool, feeling exactly like I did during my first week on Wall Street: completely out of my depth. Most people think that learning how to use a drill is all about brute force and muscle, but that’s a total myth that leads to nothing but stripped screws and frustratingly crooked shelves. In reality, using a drill is much more like tempering chocolate; if you rush the process or apply too much heat—or in this case, too much pressure—you’re going to end up with a total mess.
I’m not here to give you a dry, technical manual that reads like a legal disclaimer. Instead, I want to show you how to approach your DIY projects with the same precision and calculated strategy I used to manage multi-million dollar portfolios. We are going to break down the essentials, from selecting the right bit to mastering that perfect, steady pressure, so you can stop feeling intimidated and start building with confidence. By the end of this guide, you’ll have the tools to master your home projects without breaking the bank or your spirit.
Table of Contents
- Step-by-Step Instructions
- Selecting Your Tools Cordless vs Corded Drill Varieties
- The Essential Pantry of Drill Bit Types and Uses
- Pro-Tips for a Flawless Finish: Avoiding the DIY Kitchen Nightmares
- The Secret Sauce to a Successful Project
- ## Precision is Your Secret Ingredient
- Serving Up Your Success
- Frequently Asked Questions
Guide Overview
Tools & Supplies
- Power drill (Cordless or corded)
- Drill bits (Assorted sizes for drilling and driving)
- Workpiece (Wood, metal, or plastic)
- Screws or fasteners (As required for project)
Step-by-Step Instructions
- 1. First things first, you need to select your “ingredients”—and by that, I mean the right drill bit. Just like you wouldn’t use a heavy-duty meat mallet to mince garlic, you can’t use a masonry bit for delicate woodwork. Check the packaging to ensure the bit matches your material, and make sure it’s tightly secured in the chuck before you even think about pulling the trigger.
- 2. Next, let’s talk about your workspace setup. Think of this as prepping your mise en place; if your station is cluttered, things are going to get messy fast. Secure your workpiece with clamps so it doesn’t slip, and always wear your safety gear. I like to think of safety goggles as the essential apron of the DIY world—they might feel a little extra, but they protect your most valuable assets.
- 3. Now, it’s time to find your mark. Don’t just wing it like a chef guessing at the amount of salt in a soup! Use a pencil to mark exactly where you want the hole, and if you’re working with something slippery like finished wood, use a nail or a center punch to create a tiny divot. This keeps your bit from skating across the surface and ruining your beautiful project.
- 4. Position the drill perpendicular to the surface. This is all about balance and leverage, much like maintaining a steady hand while drizzling a reduction sauce. Hold the drill firmly with both hands if possible, applying gentle, even pressure. If you push too hard, you’re essentially overcooking your budget—you’ll lose control and potentially damage the material.
- 5. Start slow. Squeeze the trigger lightly to get the bit spinning at a low speed; this helps the bit “bite” into the material without jumping. Once you’ve established a groove, you can gradually increase the speed. It’s all about incremental progress, much like building up your savings account through consistent, small contributions rather than waiting for a windfall.
- 6. As you get deeper, keep an eye on the debris. If you’re drilling into wood, pull the bit out slightly every once in a while to clear out the sawdust. This prevents the bit from overheating and keeps the hole clean and precise. Think of it like stirring a thick risotto; you have to keep things moving to prevent anything from sticking or burning at the bottom.
- 7. Finally, once you’ve reached your desired depth, ease off the trigger slowly rather than just snapping it off. This prevents the bit from catching and “snapping” out of the hole, which can be a shock to both your hands and your nerves. Take a moment to inspect your work and clean up your station—a tidy workspace is the sign of a professional, whether you’re in a kitchen or a workshop.
Selecting Your Tools Cordless vs Corded Drill Varieties
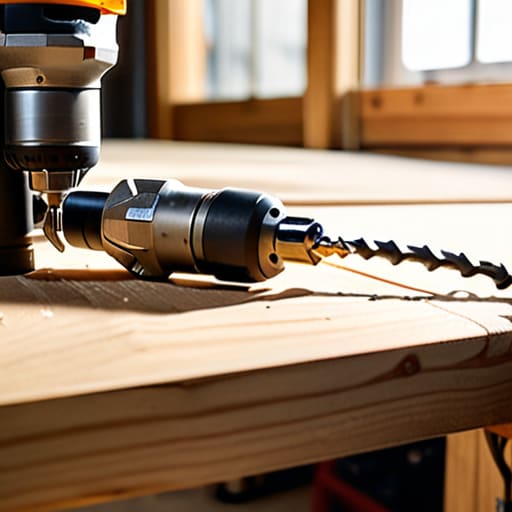
Choosing between a cordless vs corded drill is a lot like deciding whether to prep your mise en place in a high-volume professional kitchen or a cozy home setup. If you’re tackling a massive renovation—think a “bulk purchase” of heavy-duty tasks—a corded drill is your reliable workhorse. It offers consistent, uninterrupted power that won’t quit on you mid-project, much like a steady flame on a gas stove. However, if you’re working in tight corners or moving around a lot, a cordless model is your best friend for mobility and convenience.
Think of your battery life as your operating budget; you don’t want to run out of resources right when you’re hitting the most important part of the job! For smaller, more agile tasks, the freedom of cordless is unbeatable. Just keep in mind that for specialized jobs, like drilling into masonry vs wood, you might need to consider the specific power output required. Whether you choose the constant flow of a cord or the nimble freedom of a battery, make sure your tool matches the “menu” of tasks you have planned for the day.
The Essential Pantry of Drill Bit Types and Uses
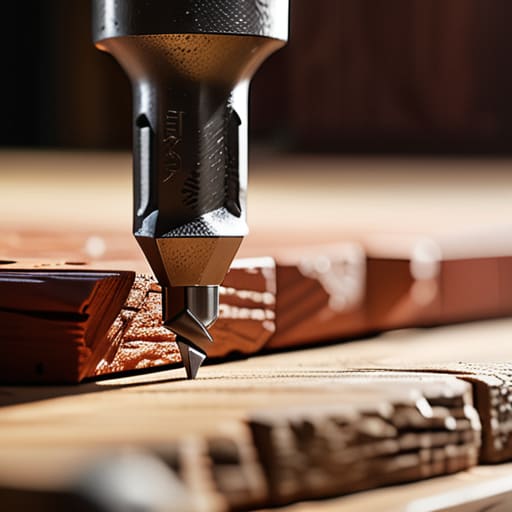
Think of your drill bits like the spices in my food truck kitchen; you wouldn’t use cayenne pepper when the recipe calls for a delicate pinch of sea salt, right? Just as using the wrong seasoning can ruin a gourmet dish, using the wrong bit can completely wreck your project. If you’re working on a beautiful oak shelf, you’ll want a sharp wood bit to ensure a clean entry. However, if you’re tackling a brick wall, you absolutely must switch to a masonry bit. Trying to use a standard wood bit for drilling into masonry vs wood is a recipe for disaster—it’ll dull your bit instantly and leave you with a very expensive piece of scrap metal.
Once you’ve picked your “flavor,” you need to know how to handle the equipment. Knowing how to change a drill bit is a fundamental skill, much like swapping out a dull knife for a fresh blade during meal prep. Always ensure the drill is unplugged or the battery is removed before you start fiddling with the chuck. Once you’re set, take a moment to master adjusting drill torque settings; it’s the difference between a perfectly seated screw and one that strips the head entirely.
Pro-Tips for a Flawless Finish: Avoiding the DIY Kitchen Nightmares
- Mark your spots with precision. Just like you wouldn’t eyeball the amount of salt in a delicate reduction, don’t eyeball your drill holes. Use a pencil to mark exactly where you want to go so you aren’t left with a “splattered” mess on your drywall.
- Check your grip and stability. Think of this like holding a heavy cast-iron skillet; if your stance is off, you’re going to lose control. Keep a firm, balanced grip on the drill to prevent it from slipping and causing a costly mistake.
- Don’t force the pressure. If you find yourself leaning your entire body weight into the drill, stop! It’s like overworking a dough—you’ll end up with a ruined texture. Let the bit do the heavy lifting and apply steady, moderate pressure instead.
- Mind your speed settings. Using high speed for a delicate task is like turning your stove to “high” when you’re trying to simmer a sauce; you’re going to burn something. Match your drill’s RPM to the material you’re working with for total control.
- Always wear your safety gear. You wouldn’t dream of cooking without a kitchen towel nearby to handle hot pans, so don’t start drilling without your safety glasses. Protecting your eyes is the best investment you can make in your “project budget.”
The Secret Sauce to a Successful Project
Treat your drill selection like choosing your kitchen appliances; investing in a high-quality cordless model might cost more upfront, but the freedom and efficiency it provides will save you a lot of “kitchen stress” in the long run.
Never wing it with your bits—just like you wouldn’t use a dull knife to slice a delicate truffle, using the wrong drill bit can ruin your materials and your confidence, so always match the bit to the specific job.
Precision is everything, whether you’re balancing a budget or driving a screw; take your time to set your depth and pressure correctly to ensure your final result is as polished as a five-star plating.
## Precision is Your Secret Ingredient
“Think of a drill like a high-stakes investment portfolio; if you go in without the right bit or too much brute force, you’re going to end up with a mess that’s expensive to fix. Success, whether in DIY or finance, is all about choosing the right tool for the job and applying just the right amount of pressure.”
Madeline Thompson
Serving Up Your Success
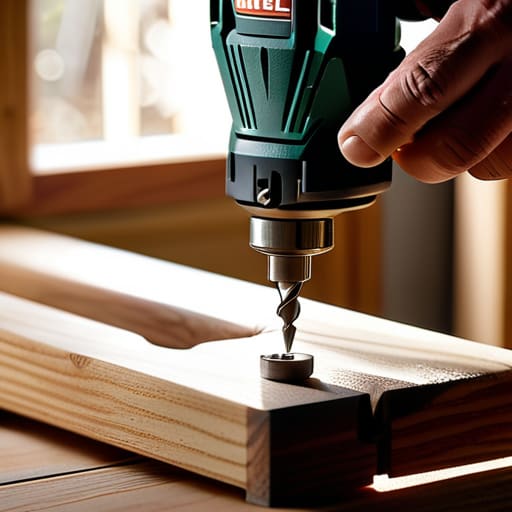
Just like mastering a complex reduction sauce or balancing a high-stakes portfolio, using a drill is all about having the right ingredients and a solid plan. We’ve walked through the importance of choosing between cordless and corded models, and we’ve explored your “pantry” of drill bits to ensure you’re using the right tool for the job. Remember, whether you are mounting a shelf or starting a larger renovation, the secret lies in prepping your workspace and maintaining steady control. If you treat your tools with respect and approach each hole with precision, you’ll avoid the messy “overflows” that come from rushing a project.
At the end of the day, whether you are managing your hard-earned savings or driving a screw into a fresh piece of timber, it all comes down to intentionality and confidence. Don’t let the fear of a crooked hole stop you from starting; even the most seasoned chefs and financial pros had to learn the basics once. Every mistake is just a way to refine your technique and build your expertise. So, grab your gear, trust your preparation, and go build something that makes you proud. You’ve got the tools, the talent, and the recipe for success—now it’s time to get to work!
Frequently Asked Questions
I’ve got my bits and my drill, but how do I make sure I don't accidentally crack my expensive backsplash or ruin my wood?
Think of this like tempering chocolate; if you rush the temperature or apply too much pressure, everything cracks. To protect your backsplash, use a masonry bit and go slow—let the tool do the work rather than leaning into it. When it comes to wood, it’s all about the “seasoning.” Always drill a pilot hole first to prevent splitting. A little preparation prevents a massive, costly mess later!
Is it better to invest in one high-quality cordless drill now, or should I buy a cheaper set of tools to start my DIY journey?
Think of this like choosing between a cheap, dull knife and a professional chef’s blade. You could buy a whole set of budget tools, but if the core piece—your drill—is subpar, your “recipe” for a successful DIY project will fall apart. I always recommend investing in one high-quality cordless drill now. It’s like building a solid emergency fund; it might cost more upfront, but the long-term dividends in reliability and performance are well worth the investment.
How can I tell if I'm applying too much pressure—am I treating this like a delicate reduction or am I being way too aggressive with the torque?
Think of it like simmering a delicate balsamic reduction: if you turn the heat up too high, you’ll scorch the whole batch. If you feel the drill vibrating violently or hear the motor straining like it’s working through frozen dough, you’re being way too aggressive. You want steady, controlled pressure. Let the bit do the heavy lifting. If you’re forcing it, you’re just risking a “burnt” project and a stripped screw!
