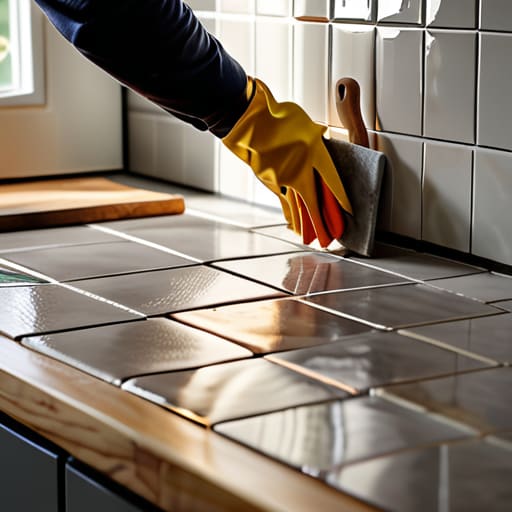
I was standing in my tiny kitchen last summer, staring at a pile of expensive subway tiles and a tub of grout, feeling exactly like I did during my first week on Wall Street: completely out of my depth and terrified of a massive capital loss. I thought that learning how to tile a backsplash required a professional contractor’s budget and a level of precision that only a master chef could achieve. But here’s the truth that nobody tells you: tiling isn’t about having a perfect hand; it’s about meticulous preparation and managing your resources just like you would a high-stakes investment portfolio.
If you’ve been staring at your bare walls wondering if you should DIY or call a pro, I’m here to tell you that you can absolutely handle this. In this guide, I’m breaking down exactly how to tile a backsplash without the soul-crushing stress or the inflated contractor fees. We’re going to walk through everything from calculating your materials (to avoid that dreaded mid-project shortage) to the actual installation, ensuring your kitchen looks like a million bucks on a food truck budget. Let’s get cooking!
Table of Contents
- Step-by-Step Instructions
- Sourcing Your Ingredients Selecting Premium Kitchen Backsplash Materials
- The Chefs Prep a Vital Tiling Tools Checklist
- Pro-Tips for a Five-Star Finish: Avoiding the Kitchen Nightmares
- The Secret Sauce: My Golden Rules for a Successful Backsplash
- The Secret to a High-Yield Kitchen
- The Final Garnish: Serving Up Your Success
- Frequently Asked Questions
Guide Overview
Tools & Supplies
- Tile cutter or wet saw for precise cuts
- Notched trowel for spreading adhesive
- Rubber grout float for applying grout
- Spacers to maintain even gaps
- Level to ensure straight lines
- Backsplash tiles (10% extra for waste)
- Tile adhesive or mastic
- Grout (color of choice)
- Tile sealer
- Caulk for edges and corners
Step-by-Step Instructions
- 1. Before you even touch a single tile, you have to handle your mise en place. In the culinary world, this means having every ingredient prepped and ready to go so you aren’t scrambling mid-service; tiling is exactly the same. Gather your tiles, thin-set mortar, spacers, a notched trowel, a tile cutter, and your grout. If you don’t have your tools organized upfront, you’re essentially trying to cook a five-course meal without even knowing where the salt is, and that’s a recipe for disaster.
- 2. Next, you need to prep your “cooking surface,” which in this case is your kitchen wall. Clean the area thoroughly to remove any grease or food splatters—nothing ruins a bond like a layer of old pasta sauce. Once it’s clean, check if your wall is flat. If it’s as uneven as a poorly balanced budget, you might need to apply a bit of cement board or leveling compound. You want a rock-solid foundation before you start investing your hard-earned cash into those beautiful tiles.
- 3. Now, let’s talk about the layout, which is basically your financial forecasting. You don’t want to start tiling from one corner only to realize at the very end that you’re left with a tiny, awkward sliver of tile next to the outlet. Measure the total width of your backsplash and find the center point. Dry-lay a row of tiles across the middle to see how they sit. It’s much better to adjust your strategy now than to realize you’ve made a costly mistake once the mortar is already drying.
- 4. It’s time to get messy and start applying the mortar. Using your notched trowel, spread a thin, even layer of thin-set onto a small section of the wall. Think of this like spreading butter on toast; you want it consistent and smooth, not glopped on in thick, uneven chunks. If you apply too much at once, it’ll start to skin over before you can even place a tile, and you’ll end up with a “bankrupt” bond that won’t hold.
- 5. Press your tiles into the mortar, starting from your center line and working your way out. This is where you use your spacers to ensure every tile has the exact same amount of breathing room. I like to think of spacers as the interest rates of tiling; they keep everything regulated and uniform so the final result looks professional. Give each tile a gentle press and a little wiggle to ensure it’s seated properly, and don’t forget to periodically check your level to keep everything straight.
- 6. Once your tiles are set and the mortar has had time to cure (usually about 24 hours), it’s time for the “finishing sauce”: the grout. Mix your grout to a peanut butter consistency and use a rubber grout float to push it into the gaps between the tiles. Work in small sections to avoid drying out, and make sure you’re filling the voids completely. Once it’s in, use a damp (not soaking!) sponge to wipe away the excess from the tile surfaces, leaving only the clean, beautiful lines behind.
- 7. Finally, let everything dry completely, and then perform your “quality audit.” Take a soft, dry cloth and buff away any remaining grout film from the tiles until they shine. If you followed these steps, you’ll have a backsplash that looks like it cost a fortune, but was actually achieved through smart, disciplined execution. Now, go ahead and cook something delicious in front of your masterpiece!
Sourcing Your Ingredients Selecting Premium Kitchen Backsplash Materials
Before you even pick up a trowel, you need to shop for your materials like you’re sourcing ingredients for a Michelin-star meal. You wouldn’t use wilted basil for a gourmet pesto, right? The same logic applies to your kitchen. When browsing through different kitchen backsplash materials, don’t just look at the pretty patterns; consider the “nutritional value” of the tile—its durability, ease of cleaning, and how it handles heat. Whether you’re leaning toward the classic elegance of subway ceramic or the high-end investment of natural stone, remember that your choice is the foundation of your entire project’s ROI.
Once you’ve picked your “star ingredient,” don’t forget the supporting cast. A common mistake I see is people obsessing over the tile but completely neglecting their grout color selection guide. Think of grout like the seasoning in a dish; it can either elevate the colors of your tiles or completely muddy the flavor profile. I always recommend grabbing a few samples to test against your lighting. Also, make sure your tiling tools checklist is fully stocked before you start—nothing kills the momentum of a high-stakes “service” like realizing you’re missing a notched trowel halfway through!
The Chefs Prep a Vital Tiling Tools Checklist
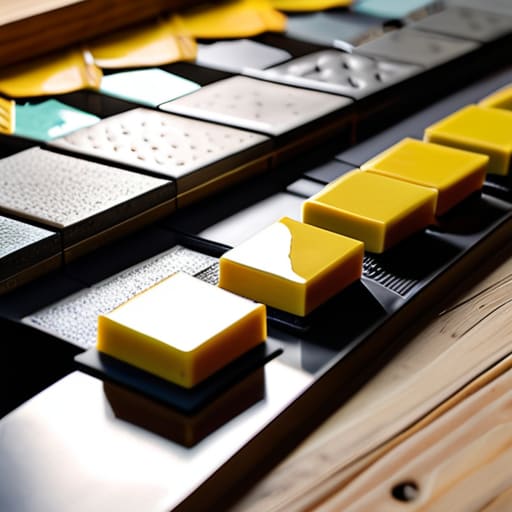
Before you even think about touching a single tile, you need to gather your mise en place. In the culinary world, if you start sautéing without your aromatics chopped and ready, you’re in for a stressful service. Tiling is exactly the same. You wouldn’t dream of starting a complex reduction without having your stock, herbs, and pans at the ready, so don’t attempt this project without a solid tiling tools checklist by your side. You’ll need more than just a hammer; grab a notched trowel, a manual tile cutter, a level, and some spacers. Missing one small tool is like realizing you’re out of eggs halfway through a soufflé—it’s a recipe for a total meltdown.
I also can’t stress enough how important it is to master your backsplash layout planning before the glue starts drying. Think of this as the “prep work” that ensures your final presentation looks professional rather than amateur. I always recommend laying out your tiles on the counter first to see how the patterns flow. It’s much easier to adjust your “recipe” on the tabletop than it is to fix a crooked line once the adhesive is already stuck to your wall!
Pro-Tips for a Five-Star Finish: Avoiding the Kitchen Nightmares
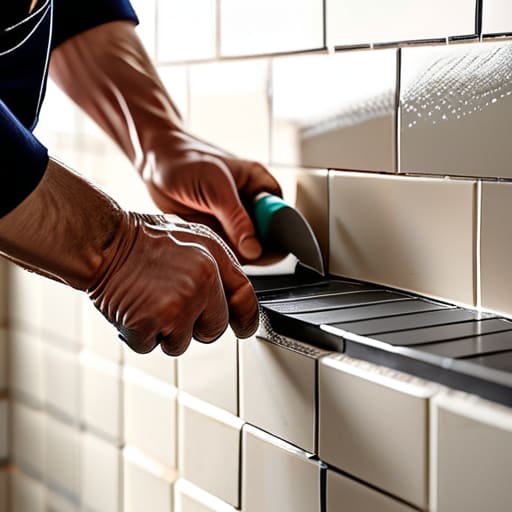
- Don’t skimp on the “buffer” stock; just like you wouldn’t cook for a dinner party without a little extra garnish, always buy about 10-15% more tile than you think you need to account for breakage and those tricky corner cuts.
- Treat your layout like a high-stakes recipe by dry-fitting your tiles first; you don’t want to realize halfway through the “service” that you’re left with a tiny, awkward sliver of tile at the edge of your counter.
- Mind your spacing—think of grout lines as the seasoning of your backsplash—if they are too inconsistent, the whole visual “flavor” of the kitchen will feel unbalanced and messy.
- Clean as you go to avoid a “kitchen disaster”; wipe away excess thin-set or grout immediately, because once that stuff hardens, it’s like trying to scrape burnt caramel off a pan—it’s a total headache.
- Invest in a quality leveler, because a crooked backsplash is like a poorly balanced budget; it might look okay at first glance, but once you start looking closer, the lack of stability becomes painfully obvious.
The Secret Sauce: My Golden Rules for a Successful Backsplash
Don’t skimp on your “ingredients”—investing in high-quality tile and grout might feel like a big upfront cost, but much like a premium cut of steak, the long-term value and durability are worth every extra penny.
Prep is everything; just as you wouldn’t start sautéing without your mise en place, you shouldn’t touch a single tile until your tools are organized and your workspace is cleared, or you’ll end up with a messy “kitchen” and a blown budget.
Precision pays off—take your time with the layout and leveling, because much like managing a complex portfolio, small errors in the beginning can lead to massive, expensive headaches down the line.
The Secret to a High-Yield Kitchen
“Think of your backsplash like a diversified investment portfolio; if you skimp on the quality of your materials or rush the foundational prep, you’re essentially trading long-term aesthetic dividends for a quick, messy fix that’ll cost you much more in repairs later.”
Madeline Thompson
The Final Garnish: Serving Up Your Success
At the end of the day, tiling a backsplash is a lot like managing a high-stakes investment portfolio or perfecting a reduction sauce—it all comes down to the quality of your preparation and your patience during the execution. We’ve walked through everything from selecting your premium materials to getting your toolkit organized and laying those tiles with precision. If you’ve followed these steps, you haven’t just put up some ceramic; you’ve executed a strategic kitchen upgrade that adds real value to your home. Just remember, if a few grout lines aren’t perfectly straight on the first try, don’t panic. Even the most seasoned chefs have to adjust their seasoning, and sometimes you just have to recalibrate your approach before the final presentation.
As you step back to admire your handiwork, I want you to realize that this project is about much more than just aesthetics. It’s a tangible reminder that you have the agency to transform your environment through discipline and care. Whether you are balancing your checkbook, climbing the corporate ladder, or tiling your own kitchen, the secret ingredient is always consistent, intentional action. Take a moment to savor the results of your hard work, because you’ve earned it. Now, go grab a glass of wine, lean against that beautiful new counter, and enjoy the masterpiece you just created!
Frequently Asked Questions
How do I figure out exactly how much tile to buy without accidentally overspending or running short mid-project?
Calculating your tile needs is a lot like scaling a recipe; if your math is off, you’re either staring at a half-finished dish or wasting money on expensive leftovers. First, find your total square footage by multiplying your wall’s width by its height. Here’s the pro tip: always add a 10% “buffer” for cuts, breaks, or those inevitable “oops” moments. Think of it as your contingency fund—it keeps the project on budget and prevents mid-job panic!
Is it worth the extra investment to use a professional-grade grout, or can I get away with the budget-friendly stuff?
Think of grout like the seasoning in a signature sauce; it might seem minor, but it holds everything together. While budget grout works for a quick fix, investing in professional-grade stuff is like choosing high-quality olive oil over the generic brand. It’s more durable, resists staining, and won’t crack under pressure. In financial terms, it’s a small upfront capital expenditure that prevents massive “maintenance costs” down the road. Go premium—your future self will thank you.
What’s the best way to handle those tricky little corners and outlets so my finished "dish" doesn't look amateur?
Think of those tricky corners and outlets like the delicate garnish on a signature dish—if you rush them, the whole presentation falls apart. For outlets, don’t try to tile around them; instead, cut your tiles precisely to fit the box for a clean, professional look. When it comes to corners, use a tile nipper or a wet saw for those tight angles. Precision here is your “secret sauce” for a high-end finish!