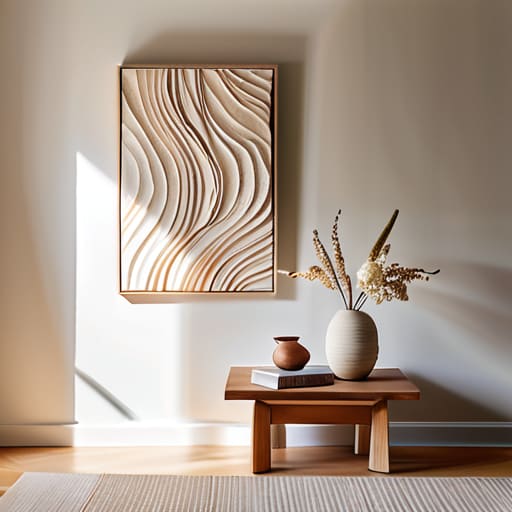
I remember standing in the middle of my first tiny apartment, staring at those vast, soul-crushing white walls and feeling like my bank account was just as empty as my decor. I had this nagging idea that I needed to drop a massive paycheck at a high-end boutique to make a space feel “expensive,” but that’s a total myth. Learning how to make wall art isn’t about having a massive budget or a degree in fine arts; it’s actually a lot like managing a kitchen pantry. If you have the right base ingredients and a solid plan, you can whip up something stunning without breaking the bank.
In this guide, I’m stripping away the fluff and giving you the raw, practical blueprint for DIY decor. We aren’t just playing with glue and glitter here; we are treating your home like a high-yield investment. I’ll walk you through selecting your “ingredients,” managing your craft budget, and executing designs that look like they cost a fortune. By the time we’re done, you’ll know exactly how to make wall art that adds real value and personality to your space, all while keeping your finances perfectly seasoned.
Table of Contents
- Step-by-Step Instructions
- Mastering Abstract Canvas Painting Methods for Elegance
- Budget Friendly Home Decor Projects That Taste Like Success
- The Secret Sauce: 5 Pro Tips to Ensure Your Wall Art Doesn't Go Bust
- The Secret Sauce to a Stunning Space
- The ROI of Personal Expression
- Investing in Your Space: The Final Garnish
- Frequently Asked Questions
Guide Overview
Tools & Supplies
- Paintbrush (various sizes for application)
- Painter's tape (for creating clean lines/patterns)
- Pencil (for sketching designs)
- Canvas or Wood Panel (1 piece)
- Acrylic Paint (set of multiple colors)
- Gesso or Primer (1 small jar)
- Water cup (1 container)
Step-by-Step Instructions
- 1. First, we need to talk about your initial investment, which in this case is your supplies. Just like you wouldn’t start a high-end risotto without checking your pantry for arborio rice and stock, you can’t start a DIY project without a solid inventory. Grab your canvas or wooden panels, some high-quality acrylic paints, a few different brush sizes, and some painter’s tape. Think of this as gathering your raw ingredients before you ever turn on the stove.
- 2. Next, you have to decide on your “flavor profile,” or your creative direction. Are you going for a minimalist, monochromatic look that screams “corporate chic,” or a bold, abstract explosion of color? I like to call this the concept development phase. Before you make a single mark, sketch out a rough draft on paper. It’s much cheaper to correct a mistake on a napkin than it is to scrape dried oil paint off an expensive canvas.
- 3. Now, let’s prep our workspace, which is essentially your mise en place. Lay down some old newspapers or a drop cloth to protect your surfaces; nobody wants a sudden “budget leak” of blue paint ruining a hardwood floor. Organize your brushes by size and your colors by intensity. Having an organized station ensures that your creative flow isn’t interrupted by a frantic search for a palette knife halfway through the process.
- 4. It’s time to apply the base coat, which is the foundation of your entire project. In the financial world, this is your emergency fund—it’s the layer that provides security and stability for everything built on top of it. Apply a thin, even layer of primer or a neutral color across your surface. Make sure it’s completely dry before moving on, because rushing the drying process is a recipe for a textured disaster.
- 5. Now comes the fun part: the actual execution of your design. Start with your largest shapes and most dominant colors to establish the “macro” view of your piece. If you’re using tape to create geometric lines, make sure you press the edges down firmly. You want crisp, clean borders, much like how I strive for clean, precise margins in my monthly profit and loss statements.
- 6. Once your main shapes are down, it’s time to add the “seasoning”—the fine details. This is where you use your smaller brushes to add highlights, shadows, or intricate patterns that give the piece depth. Don’t be afraid to layer your textures to create something truly unique. Just remember: in both cooking and art, it’s always easier to add more seasoning than it is to take it away once it’s already in the pot.
- 7. Finally, we reach the most critical step: the finish. Once your masterpiece is bone-dry, apply a protective varnish or sealant. This is your long-term asset protection. A good varnish prevents UV fading and moisture damage, ensuring that your hard work—and your investment—remains vibrant and valuable for years to come. Hang it up, step back, and savor the feeling of a job well done!
Mastering Abstract Canvas Painting Methods for Elegance
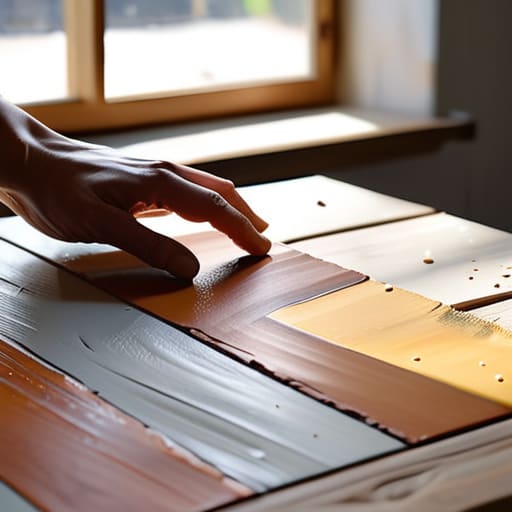
If you’re feeling a bit intimidated by a blank canvas, think of it like trying a new, complex fusion recipe for the first time. You don’t need to follow a strict blueprint; instead, you want to focus on the “flavor” of the colors. When exploring abstract canvas painting methods, I always tell my friends to treat the paint like seasoning. Start with a base layer—your foundation—and then layer in textures or unexpected strokes. It’s not about precision; it’s about the balance of movement and color that creates that high-end, gallery feel without the massive price tag.
One of my favorite ways to elevate these pieces is by incorporating mixed media wall art supplies, like adding a bit of texture paste or even some metallic leaf. It’s much like adding a garnish to a plate; it takes something simple and makes it look intentional and sophisticated. This is one of those budget friendly home decor projects that yields a massive return on your aesthetic investment. By playing with different tools—spatulas, sponges, or even old credit cards—you can create depth that makes your DIY piece look like a professional acquisition.
Budget Friendly Home Decor Projects That Taste Like Success
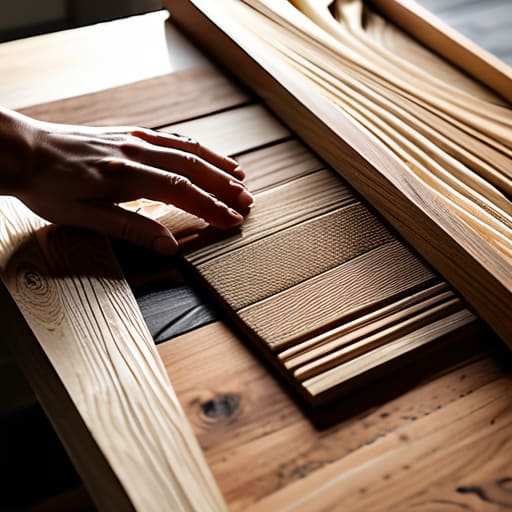
Now, let’s talk about the “secret sauce” of interior design: achieving that high-end look without draining your savings account. I always tell my clients that decorating your home is a lot like managing a startup; you have to know where to allocate your capital to get the highest return on investment. Instead of dropping hundreds on mass-produced pieces, look into budget friendly home decor projects that utilize items you already have. For instance, you can repurpose old wooden frames or even interesting textured fabrics to create depth. It’s all about the strategic allocation of resources to ensure your space feels curated rather than cluttered.
If you’re feeling a bit more adventurous, I highly recommend experimenting with mixed media wall art supplies. Think of this as the “fusion cuisine” of the decor world. By combining found objects—like vintage keys, dried botanicals, or even interesting pieces of twine—with simple paint, you can create something truly bespoke. These easy room decoration ideas allow you to play with texture and dimension without needing a massive budget. Remember, the goal isn’t to spend the most, but to create a visual feast that feels uniquely yours.
The Secret Sauce: 5 Pro Tips to Ensure Your Wall Art Doesn't Go Bust
- Audit your inventory before you shop. Just like I wouldn’t go grocery shopping without a list, don’t buy supplies until you know your color palette and canvas size. It prevents “budget bloat” from those impulse buys at the craft store that just end up gathering dust.
- Think of your layout as your financial diversification strategy. Don’t put all your “visual eggs” in one basket with a single massive piece; mixing smaller, varied textures and sizes creates a more balanced, high-interest look for your room.
- Invest in high-quality “staple ingredients.” You can save money on the flashy decorative elements, but don’t skimp on the primer or the adhesive. Using cheap materials is like using low-grade oil in a pan—it might work for a minute, but the end result will definitely be greasy and disappointing.
- Scale your vision to your ROI. Before you commit to a massive, room-filling mural, test the concept with a small-scale prototype. It’s much easier to pivot a small sketch than it is to fix a massive mistake once the “capital” (and the paint) has already been spent.
- Don’t fear the “seasoning” of imperfection. In cooking, a little salt brings out the flavor; in art, a little texture or an asymmetrical edge brings out the character. If a piece isn’t “perfect,” don’t scrap it—rebrand it as “organic texture” and move forward!
The Secret Sauce to a Stunning Space
Treat your decor budget like a recipe; don’t overspend on the “garnish” until you’ve secured your high-quality “base ingredients,” like the canvas and frame, to ensure your investment lasts.
Think of DIY wall art as a high-yield asset for your home—by investing a little time and creativity now, you’re adding significant aesthetic value to your living space without the heavy retail markup.
Don’t be afraid to experiment with your “flavor profile”; much like a fusion dish, mixing different textures and styles in your art can create a unique, sophisticated look that’s entirely your own.
The ROI of Personal Expression
“Think of your walls like a high-yield savings account—instead of just letting them sit empty and stagnant, investing a little time and creativity into custom art is how you build real emotional equity in your home.”
Madeline Thompson
Investing in Your Space: The Final Garnish
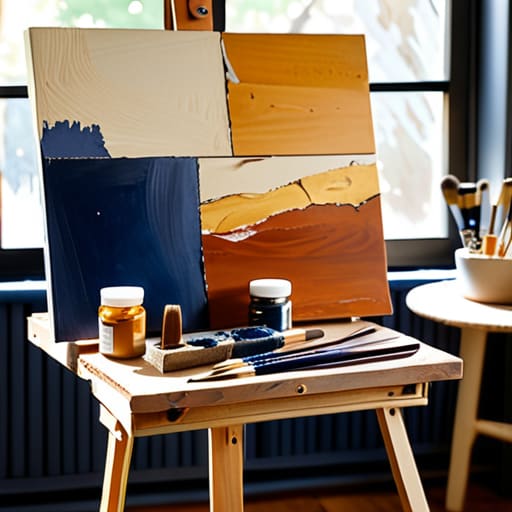
At the end of the day, making your own wall art is much like balancing a complex recipe or managing a high-stakes portfolio; it requires patience, the right tools, and a bit of creative courage. We’ve walked through everything from the technical precision of abstract canvas painting to the savvy, cost-effective hacks that prove you don’t need a massive budget to achieve a high-end look. Whether you chose to splurge on premium pigments or opted for a budget-friendly DIY approach, the goal was always the same: to transform a blank, uninspired surface into something that reflects your unique identity. Remember, the most important ingredient isn’t the cost of the frame, but the intentionality behind your choices.
As you hang your new creations, I want you to view them as more than just decor. Think of them as a high-yield investment in your own well-being and your home’s atmosphere. Just as we diversify our financial assets to build long-term wealth, diversifying the textures and colors in your living space builds a sense of emotional richness that money simply can’t buy. Don’t be afraid to experiment, fail, or try a different “flavor” next time. Your home, much like your career and your bank account, is a work in progress, and you are the chief executive of your own creativity. Now, go out there and make something beautiful!
Frequently Asked Questions
How can I make sure my DIY wall art looks high-end rather than looking like a "budget" project that's gone wrong?
Think of it like plating a five-star meal: it’s all in the presentation. To avoid that “DIY disaster” look, invest in high-quality “ingredients”—swap flimsy craft paper for heavy-weight canvases or real wood frames. Avoid over-complicating your design; sometimes, a minimalist approach looks much more expensive than a cluttered one. Just like a balanced recipe, focus on clean lines and cohesive textures to ensure your art looks like a curated investment, not a craft project.
What are the best ways to source materials without blowing my entire decor budget?
Think of sourcing materials like managing your food costs in a kitchen—you want high-quality results without the bloated overhead. To keep your decor budget from boiling over, hunt for “ingredients” at thrift stores, estate sales, or Facebook Marketplace. It’s all about finding undervalued gems that just need a little seasoning, like a fresh coat of paint. By sourcing secondhand, you’re diversifying your assets and keeping your capital ready for the truly premium pieces.
How do I decide which pieces to hang so my walls feel curated and intentional rather than cluttered?
Think of your walls like a well-balanced recipe: you wouldn’t dump every spice in the cabinet into one pot, right? That’s a recipe for chaos! To avoid that “cluttered” look, treat your decor like a diversified investment portfolio. Pick a few “anchor” pieces—your high-value assets—and let them breathe. Instead of crowding the space, select items that share a cohesive color palette or theme. Quality over quantity always yields the best ROI for your home’s vibe.
